01 / The research
Start with the job, then choose the pallet
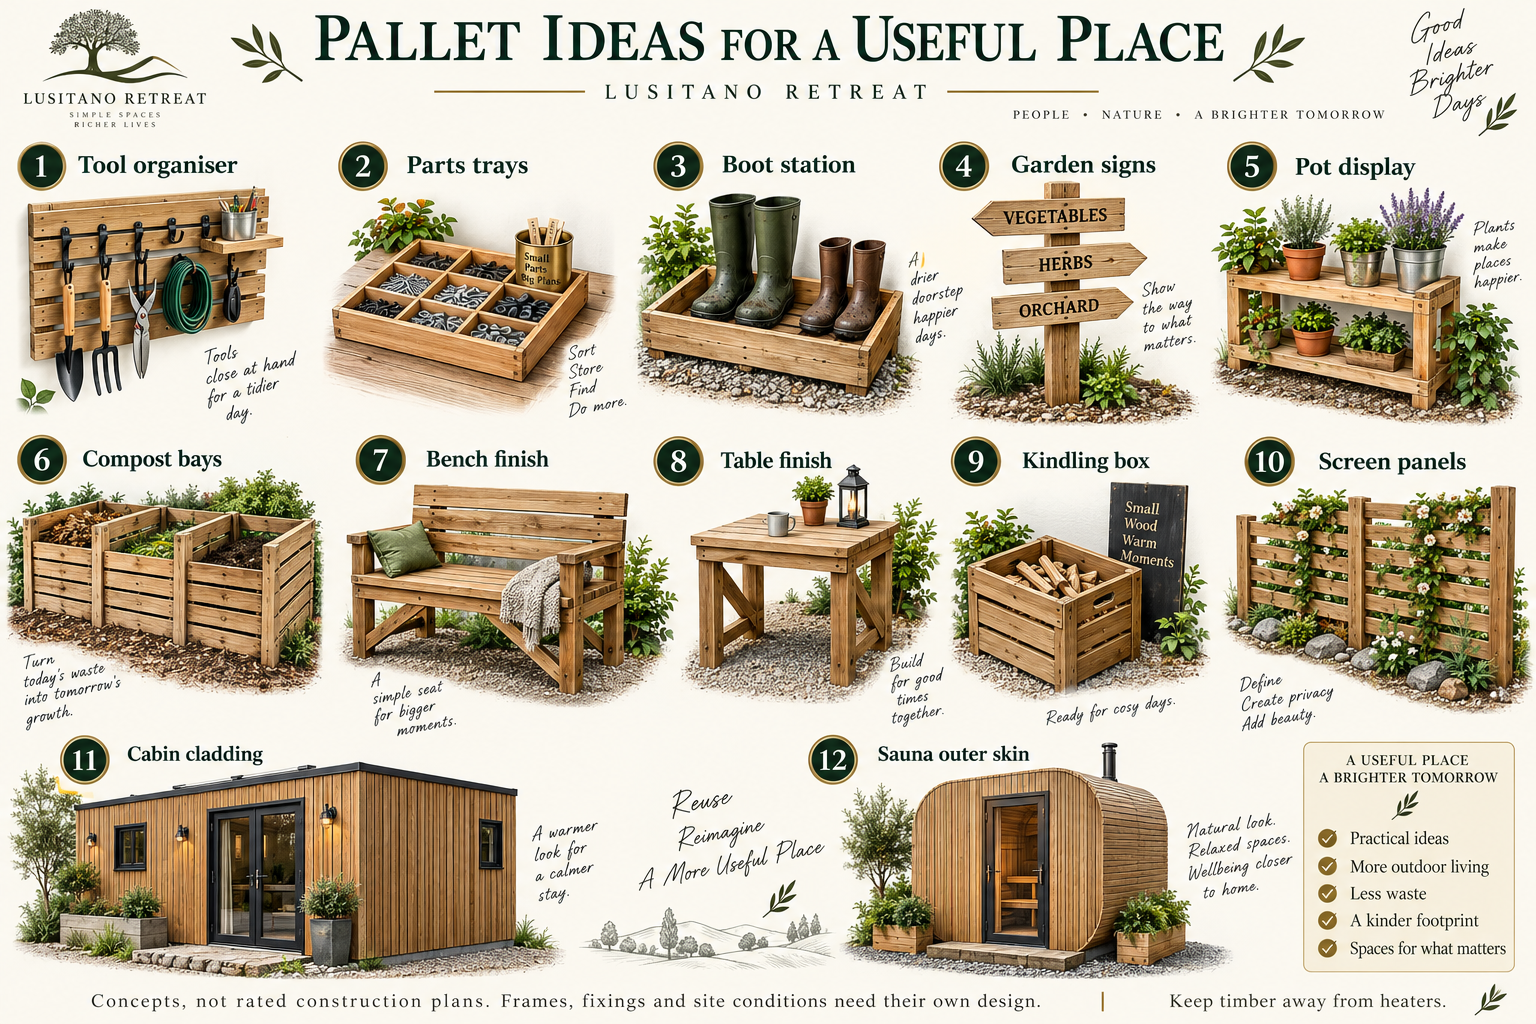
The earlier Lusitano collection contains pallet furniture, vertical planters, signs, a tool wall, timber storage, caravan skirting and sauna cladding. This guide carries the useful ideas into an English retreat workshop, with a new preparation method and 36 project cards below. Earlier quantities, prices and build times were concept estimates for another setting; do not treat them as UK bills of materials or rated plans.
A small sorting tray is a good first mission. A guest bench, raised deck or cabin wall is a different design problem: loads, weather, connections, stability, fire and users all matter. Reclaimed boards can supply appearance and modest components while specified new timber or assessed recovered sections provide the frame.
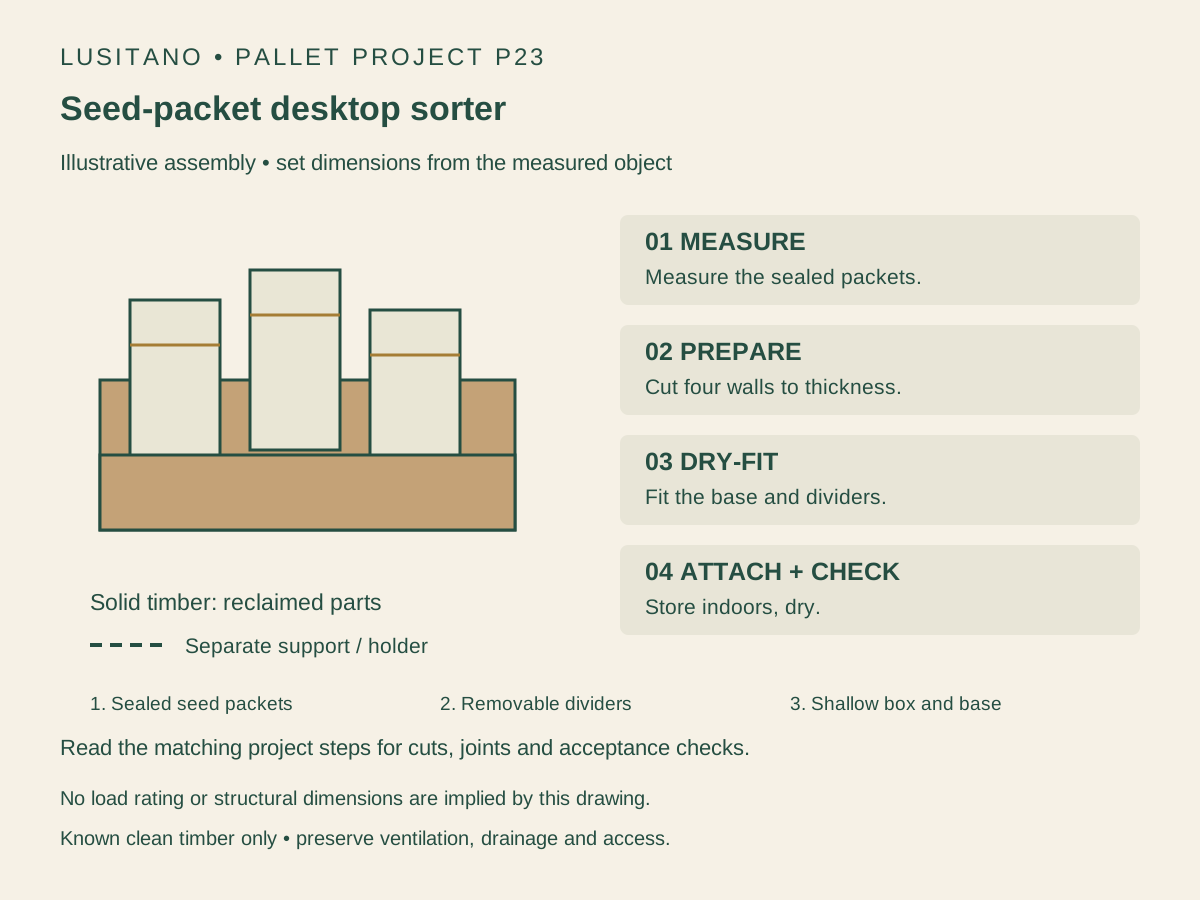
- Beginner route: desktop tray → labelled boxes → small signs.
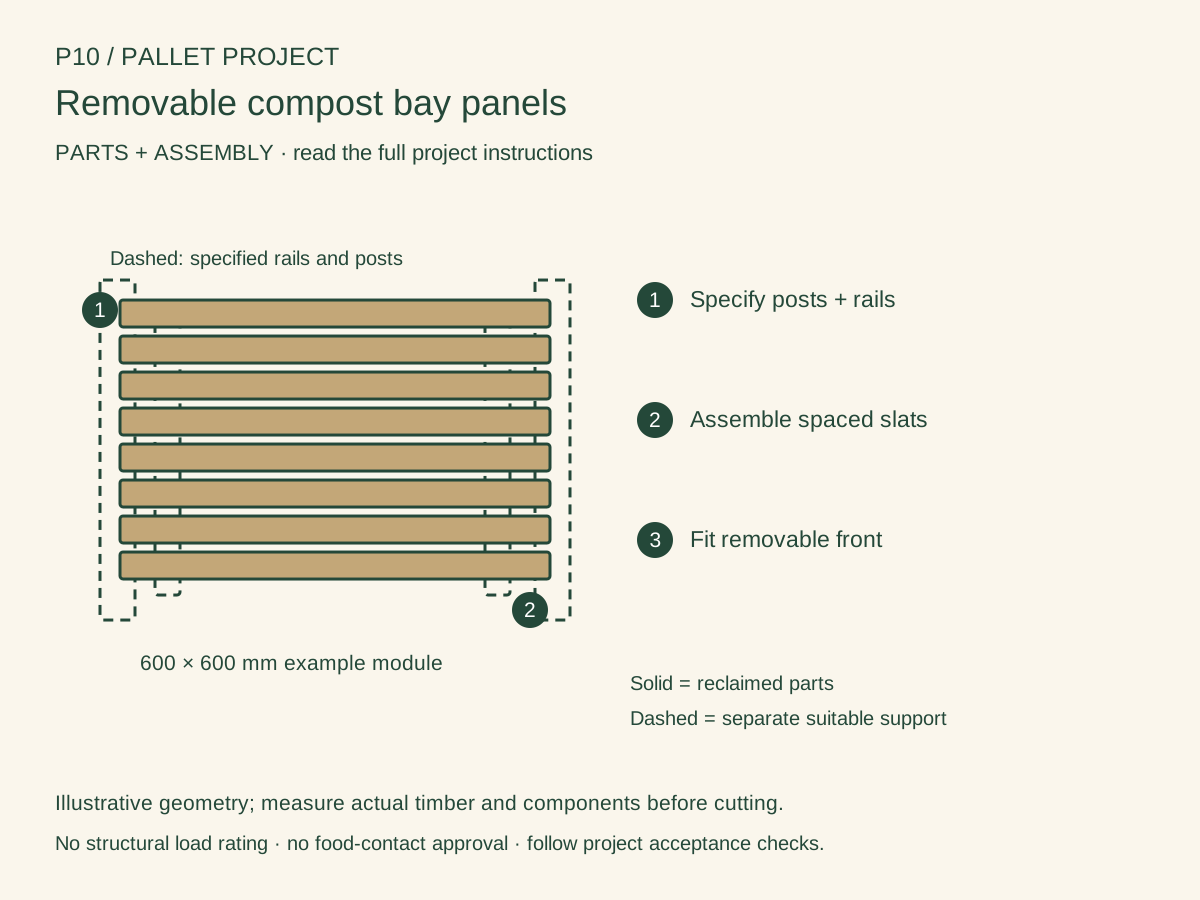
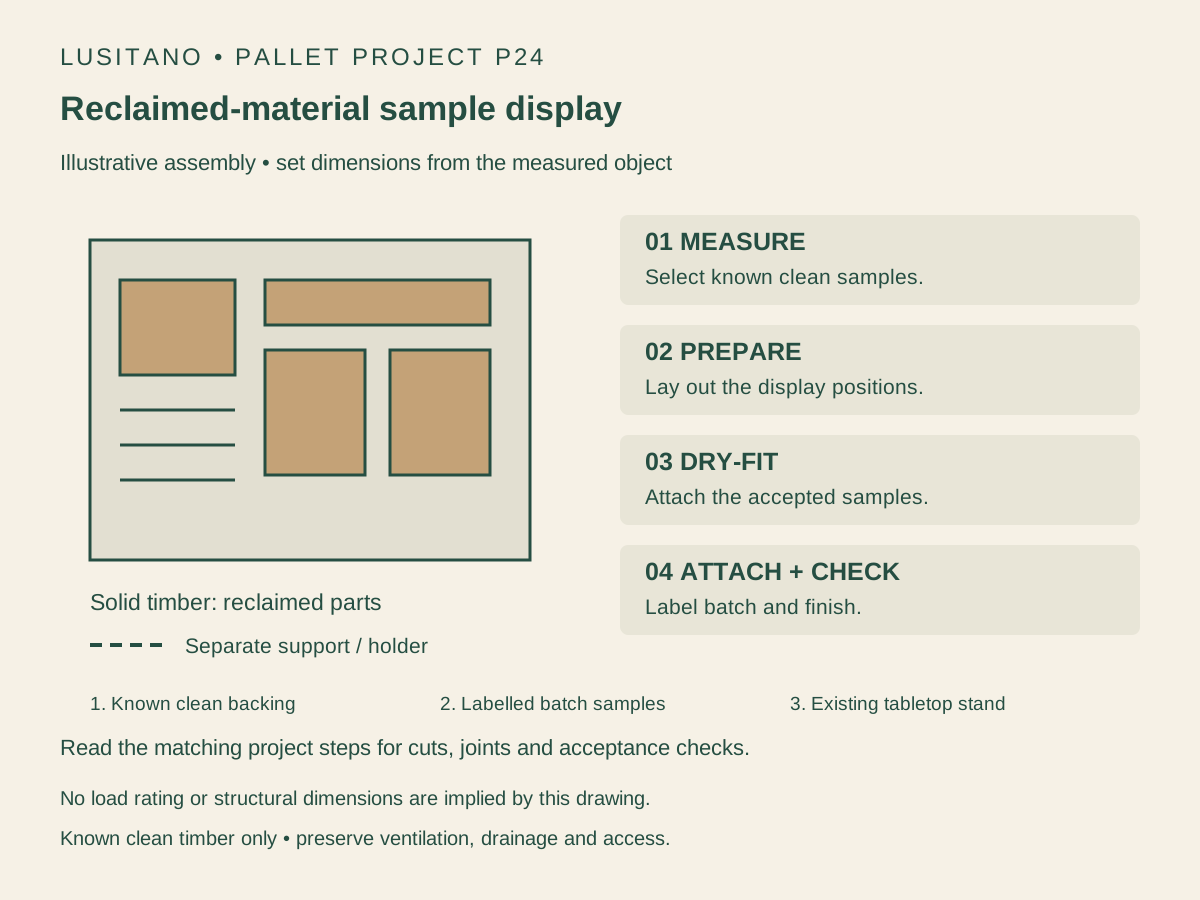
- Garden route: removable pot display → compost enclosure → a separately designed screen.
- Retreat route: sample panel → measured material schedule → assessed cabin or sauna exterior. Never use unknown pallet boards as the hot-room lining.
02 / The research
What we recovered from the earlier site
The full original records remain in the ideas library. Their archive identity is preserved; the cards here are current workshop adaptations, not an endorsement of every old recipe. In particular, old references to HT as safe, DB as pesticide treatment, pallets as deck supports or a universal railing height must not be used as design rules.
| Archive record | Idea carried forward | Current practical route |
|---|---|---|
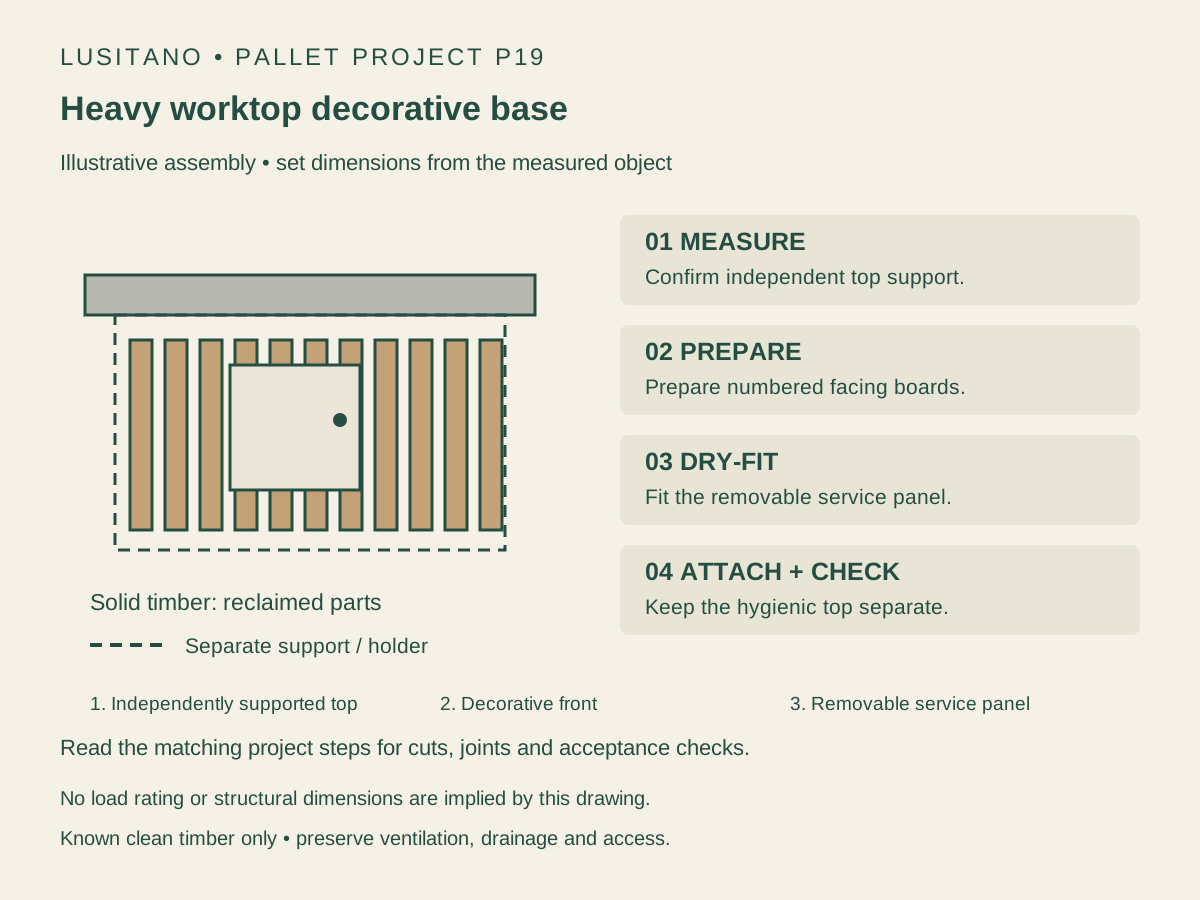
| E05 | Counter base | Pallet-board skin around an assessed frame; hygienic separate worktop. |
| E16 / E19 | Sauna outer wall / caravan cladding | Known suitable external boards on a specified ventilated assembly; preserve access and openings. |
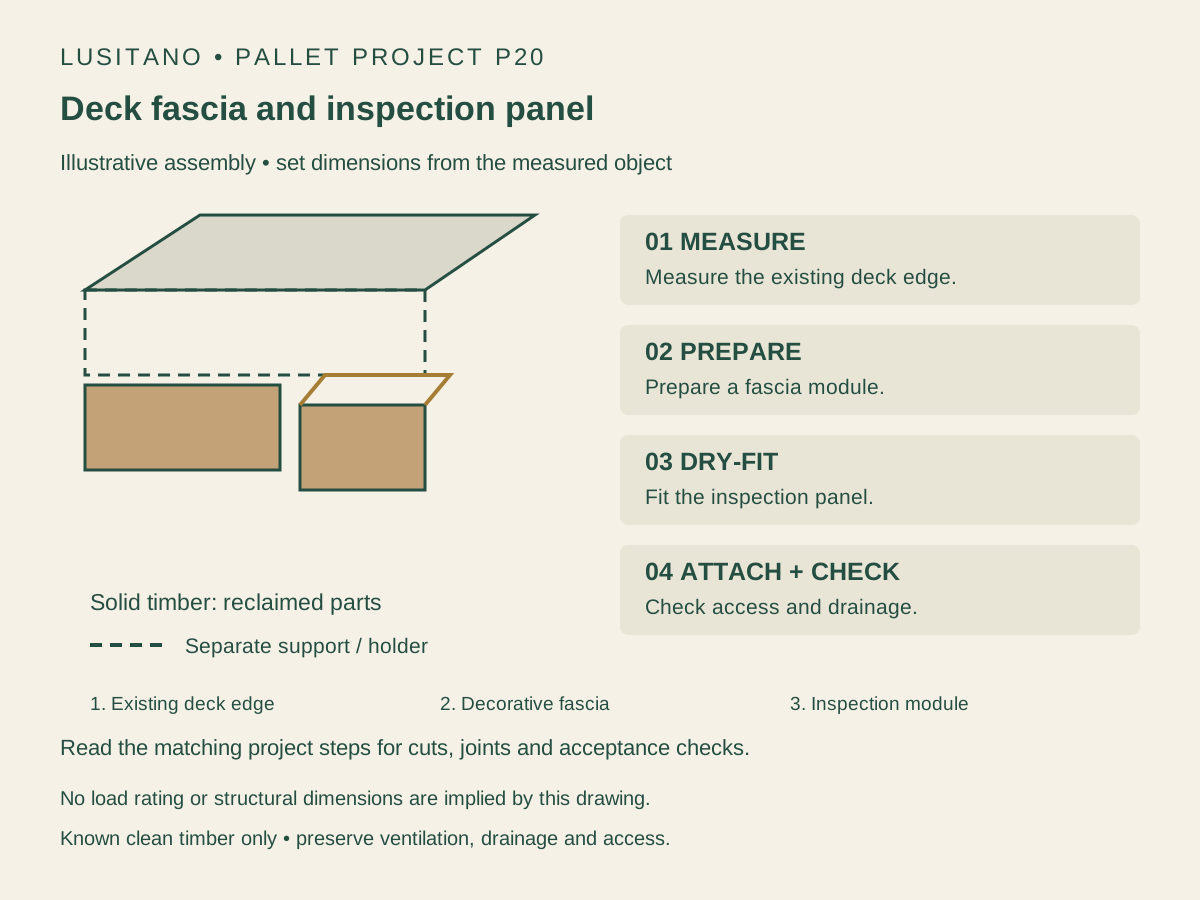
| E21 | Deck and steps | Design brief for rated framing, drainage, slip resistance and guarding; no stacked-pallet foundation. |
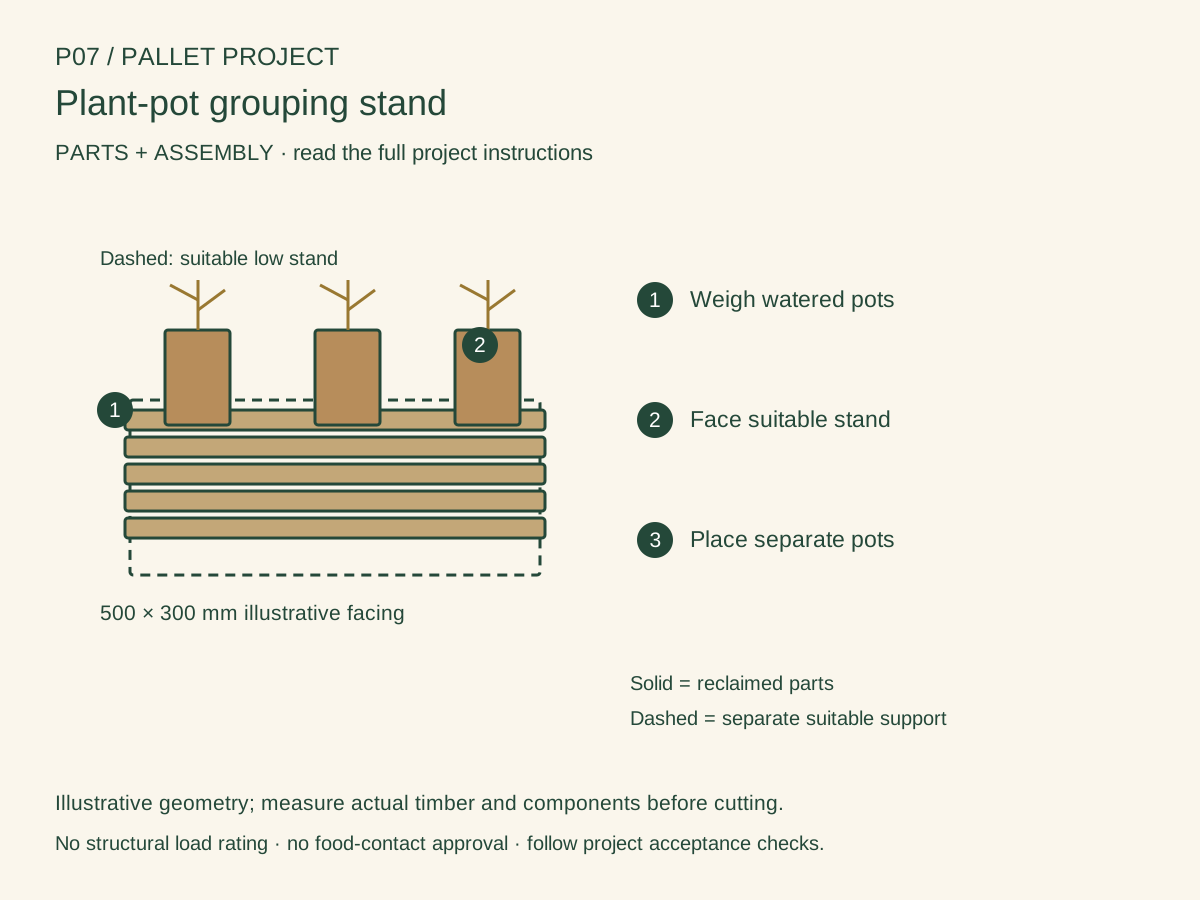
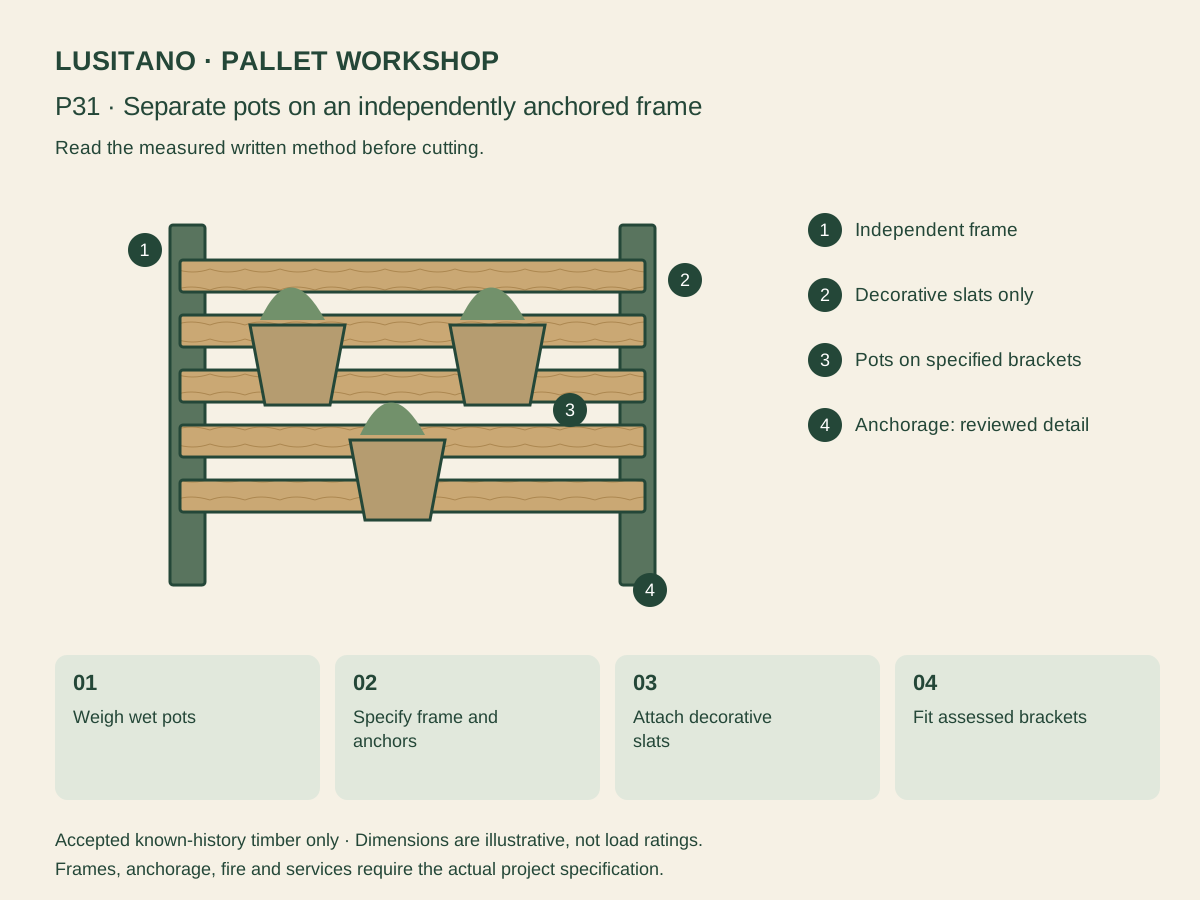
| E37 | Vertical planter | Prefer small separate pots in a stable low frame; assess wet weight and anchorage. |
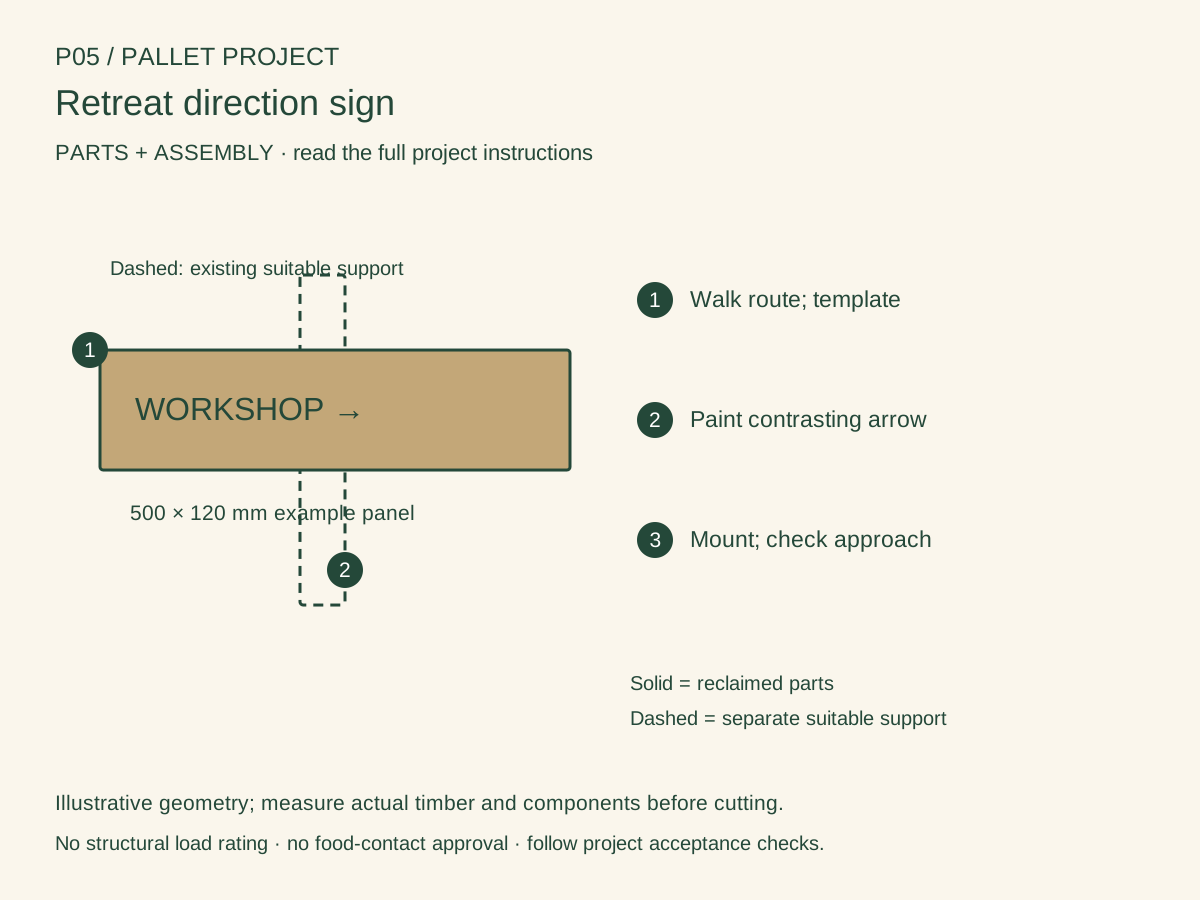
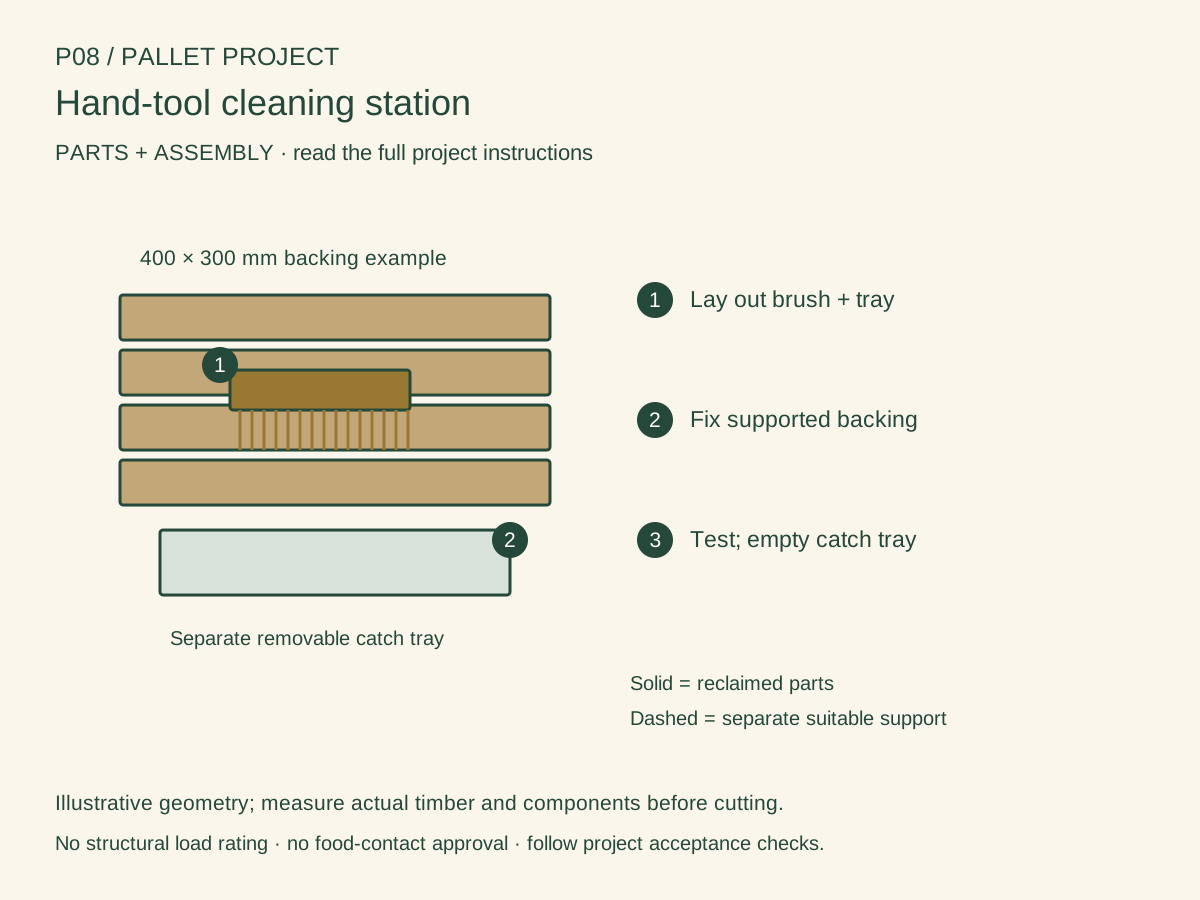
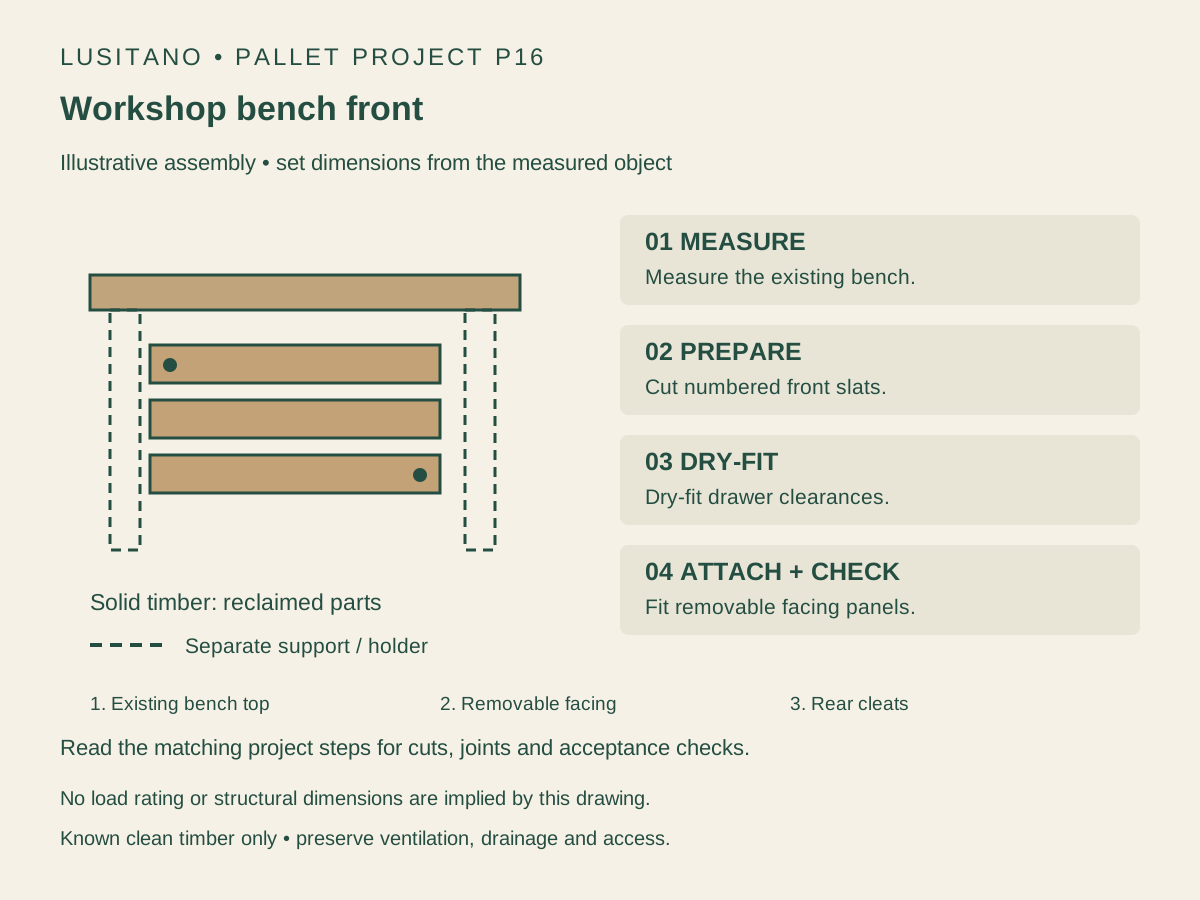
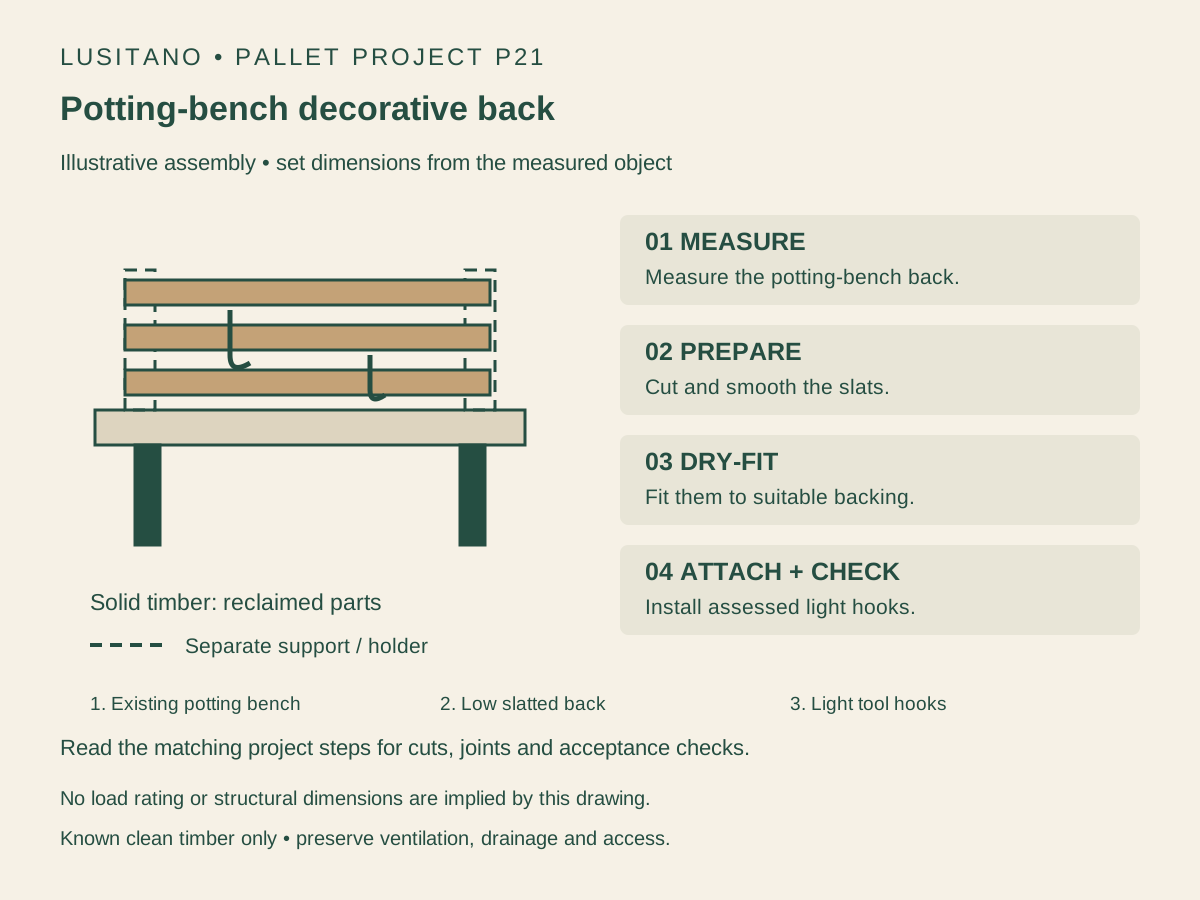
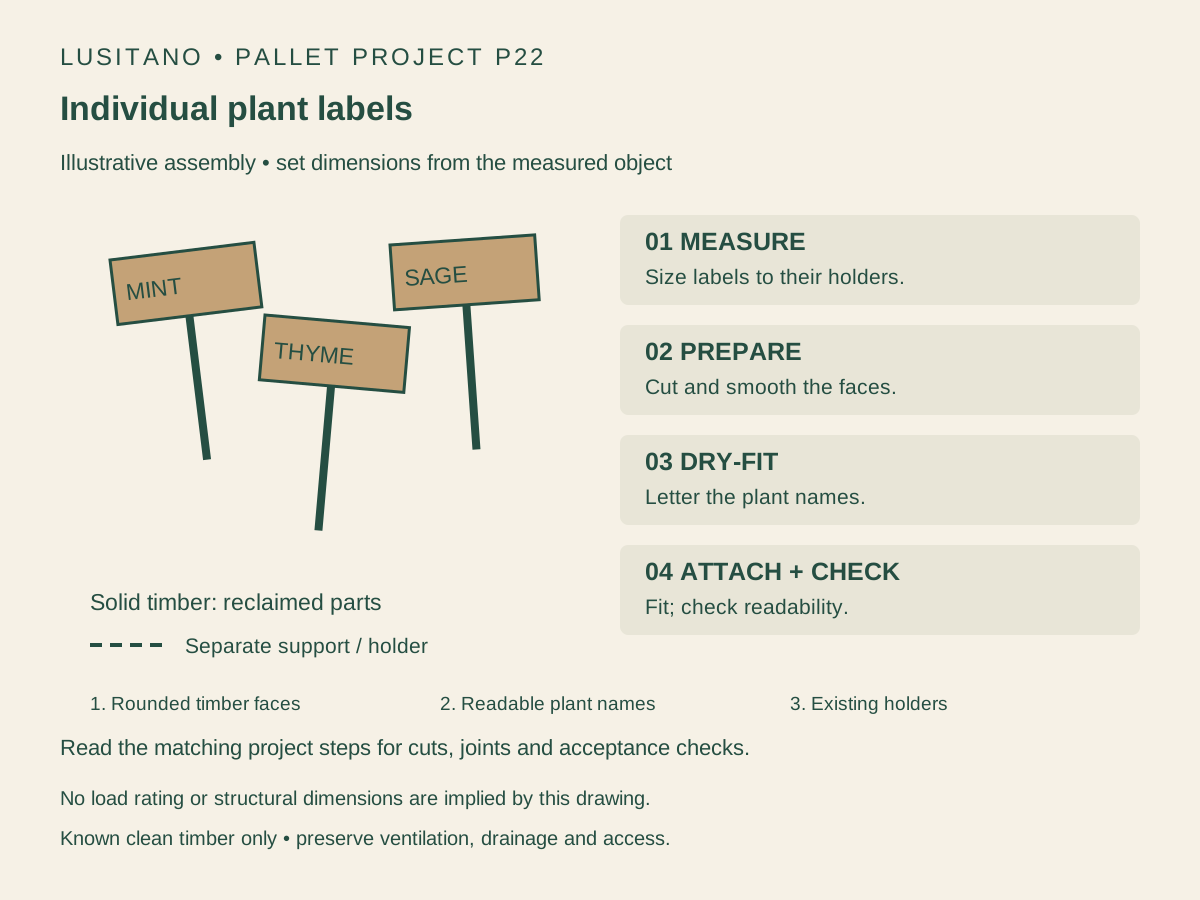
| E42 / E45 | Wayfinding / tool wall | Measured signs and organised hooks, fixed to an appropriate support. |
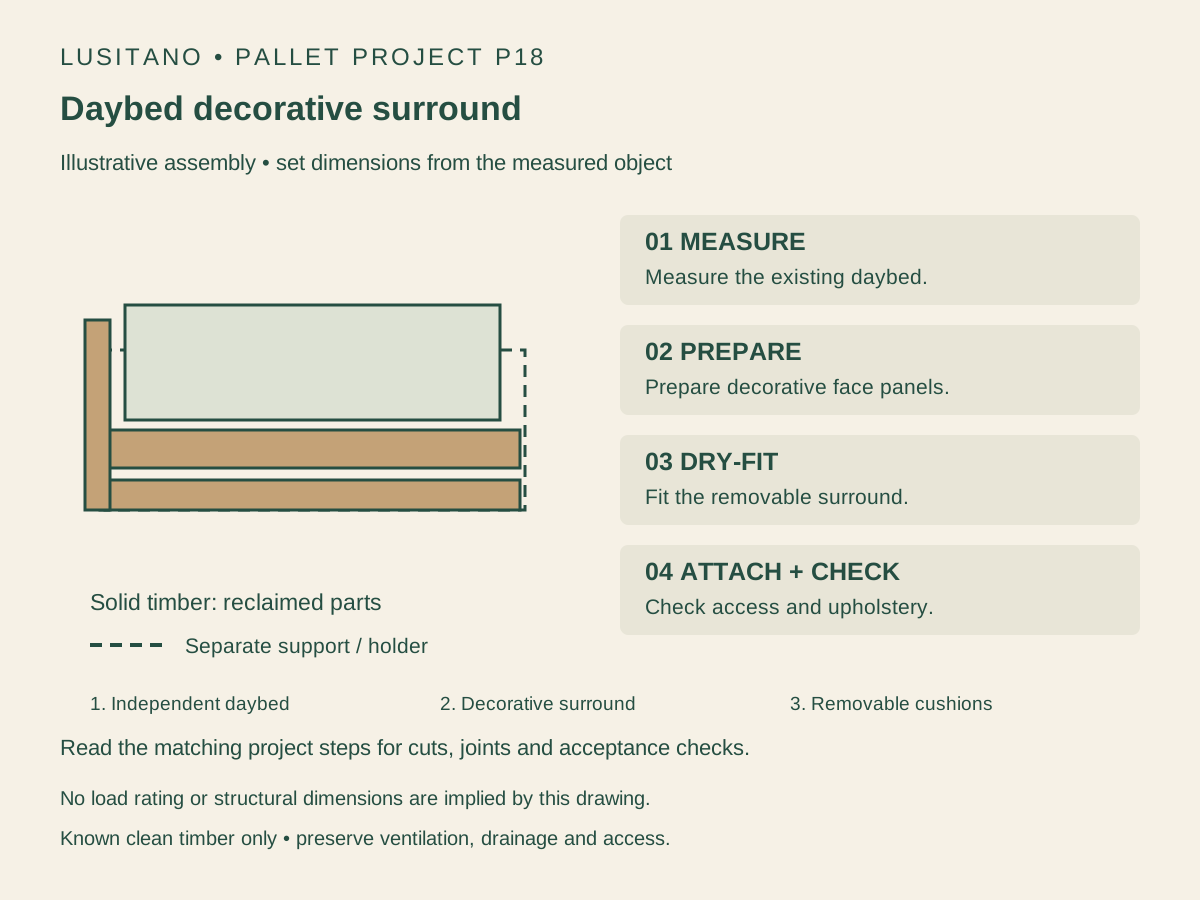
| E49 / E51 | Timber rack / daybed | Designed braced load-bearing frame; recovered boards only where assessed. |
03 / The research
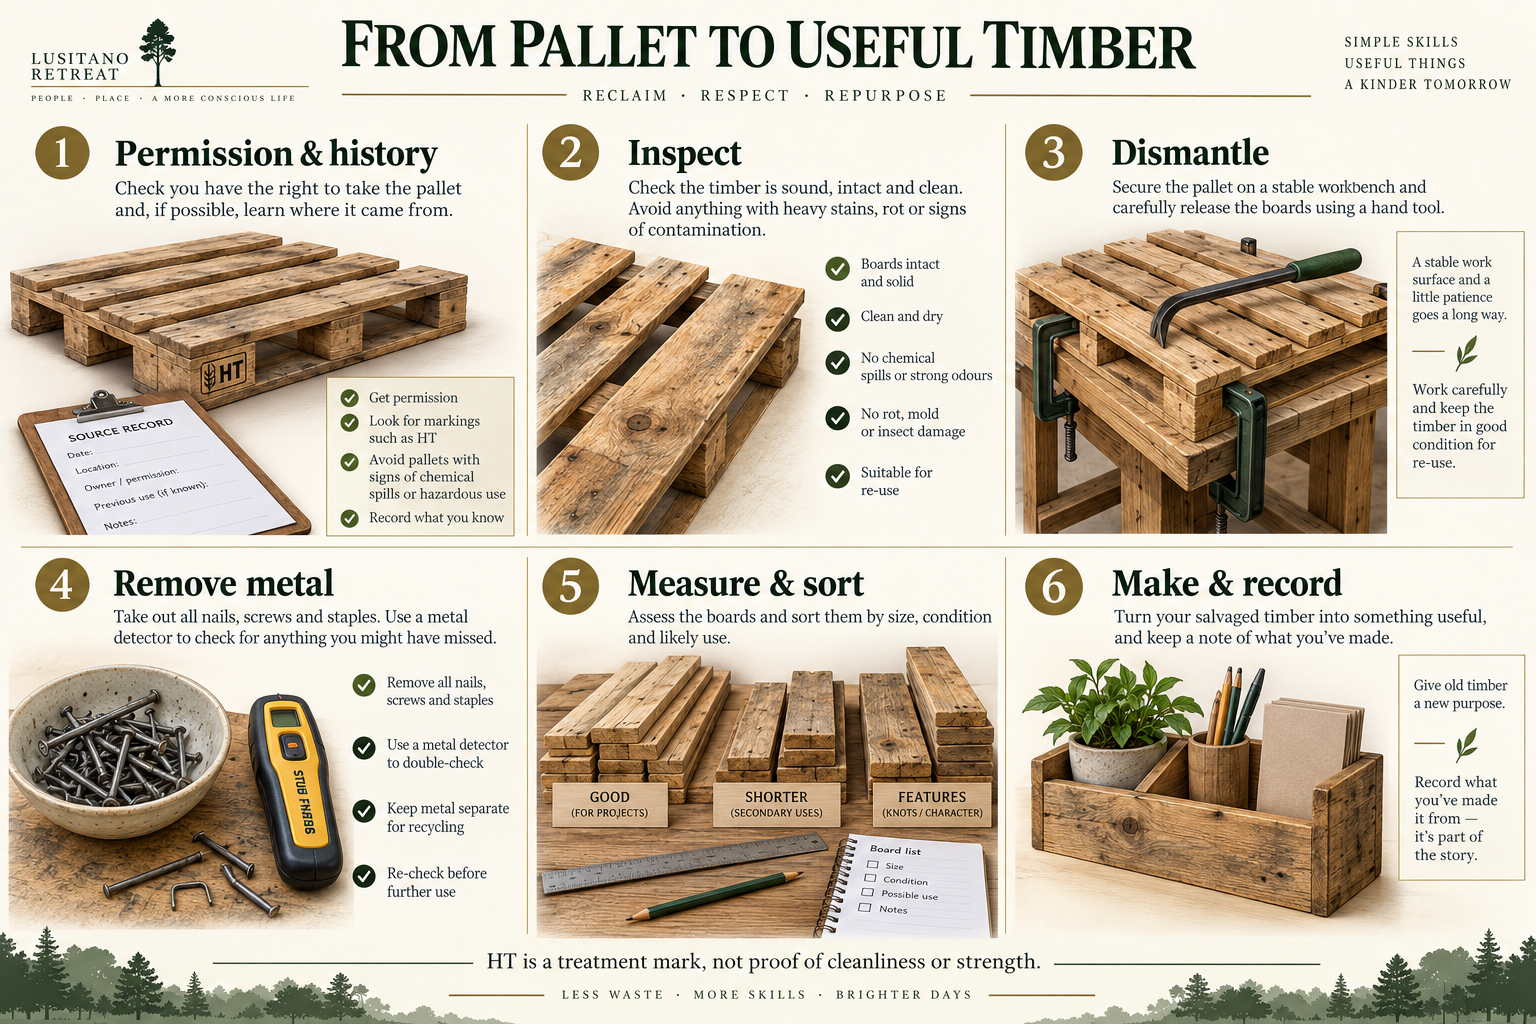
Permission, history and marks
Ask the lawful owner before collecting, cutting or dismantling. A pallet left beside a shop is not automatically free timber. CHEP states its pallets remain its property; return pooled pallets through their owner rather than taking them apart. [P1]
For this project, accept only timber with a credible supply history, no contamination signs and a suitable intended use. Prefer traceable heat-treated pallets where available, but HT is a phytosanitary heat-treatment code, not proof of clean previous cargo, structural grade, food safety or absence of later spills. EPAL describes heat treatment in its production system; that does not certify your second-hand furniture. [P2] [P3]
DB means debarked, not a pesticide treatment. [P8] Reject MB-marked or unknown-treatment pallets for this workshop. Also reject oily, chemical-smelling, painted with unknown coating, mouldy, rotten, badly split or fire-damaged timber. Washing, planing or painting cannot prove a contaminated board safe. If history is missing, choose another source rather than trying to clean away the uncertainty.
- Photograph the pallet, marks, supplier permission and previous use.
- Record collection date, source, quantity, condition and planned object in the existing material register.
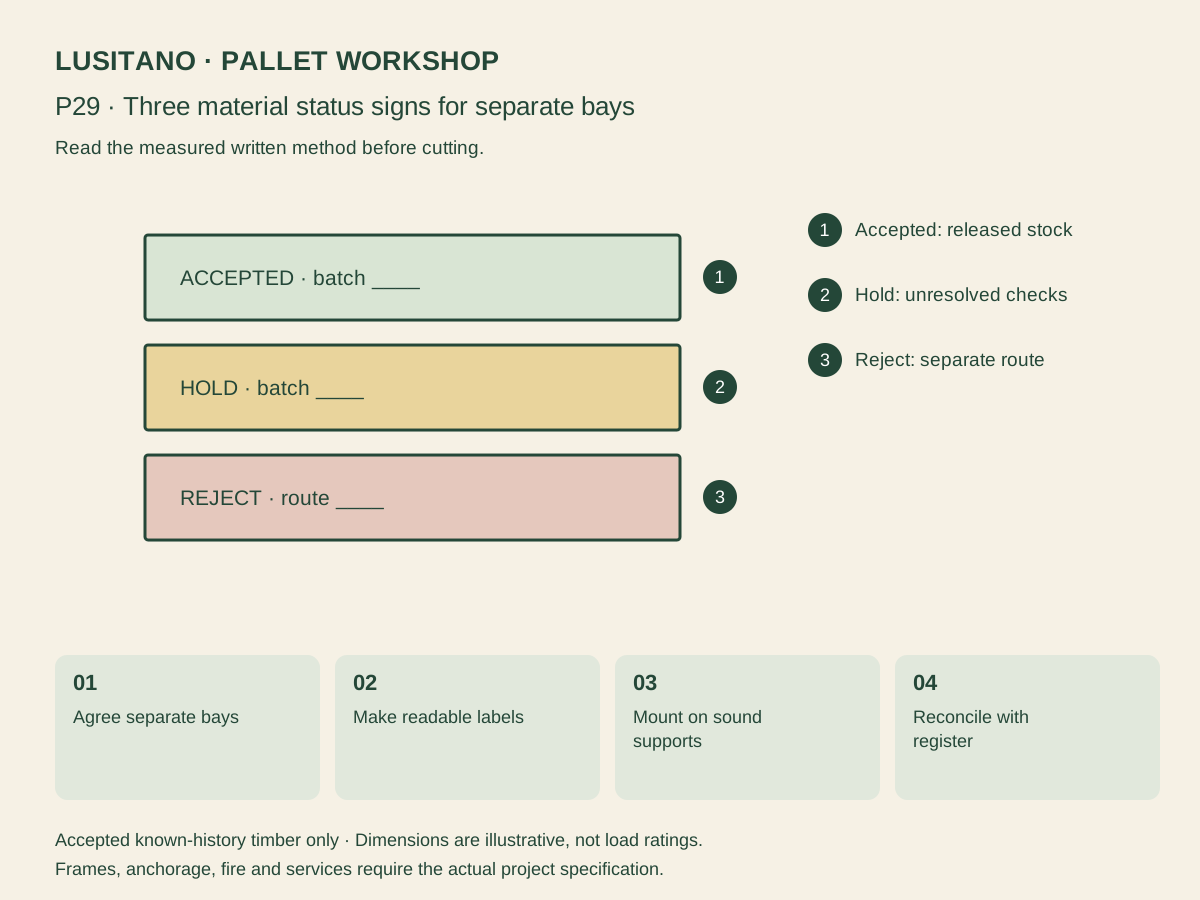
- Keep incoming unassessed timber apart from accepted stock; follow the material-intake guide for goods versus waste.
- Do not use unknown pallet timber for chopping boards, food-contact surfaces, children’s equipment, animal bedding, hot sauna interiors or fuel. These exclusions are our conservative project choices, not a claim that every pallet is legally banned from every such use.
04 / The research
Set up a practical pallet bench
Use a stable workbench, clamps, a pallet dismantling bar or suitable pry tools, nail puller, hand saw or guarded saw used by a competent person, drill/driver, square, tape, pencil, sander with extraction, and suitable abrasives. Add a metal detector before machining and a moisture meter for timber intended for an exterior assembly. Do not buy a planer simply to rescue poor boards.
Wood dust needs control at source: use effective extraction appropriate to the tool and task. Where respiratory protection is needed, select it for the assessment, ensure a suitable fit, and follow HSE guidance; a mask alone does not replace extraction. Do not dry-sweep or blow dust into the room. HSE guidance is written for workplaces and supports a careful volunteer workshop too. [P4] [P5]
- Eye protection for dismantling and drilling; suitable footwear and hearing protection where required.
- Use gloves for handling splintered boards, but keep gloves and loose clothing away from rotating machinery in accordance with its instructions.
- Keep visitors, children and animals out of the dismantling area. Collect removed nails immediately in a rigid container.
- Do not sand an unknown coating. Do not burn, torch-char or chemically strip suspect wood to make it acceptable.
05 / The research
Recover boards without wasting the useful length
1. Photograph and inspect both faces, blocks and stringers. Choose sound boards before applying force; put the pallet securely on the bench or other appropriate stable support. Do not balance it on loose blocks.
2. Start at an accessible joint. Use a dismantling tool that supports the board near the fastener and ease the joint a little at a time. Work across adjacent joints instead of levering one end until it splits. Do not put a hand in the closing gap.
3. Where ring-shank nails will not release, consider sacrificing a short end rather than forcing a split through the whole board. Cutting nail-containing joints is a separate task for a competent operator with the correct tool; it is not the beginner route.
4. Remove all visible nails and staples. Examine both faces and edges for snapped shafts; scan before sawing, routing or planing. A detector helps but is not a guarantee, so stop when a suspicious mark remains unresolved.
5. Brush off loose dirt without spreading dust, then stack the accepted boards flat with spacers and airflow under cover. Let them acclimatise to the intended setting. Measure width, thickness, usable length, twist and defects before selecting a project.
6. Mark accepted lengths, cut away local damaged sections only where the remaining material is suitable, then recheck for metal. Sand known clean bare timber with dust control and ease contact edges. Record discarded pieces as well as useful yield.
06 / The research
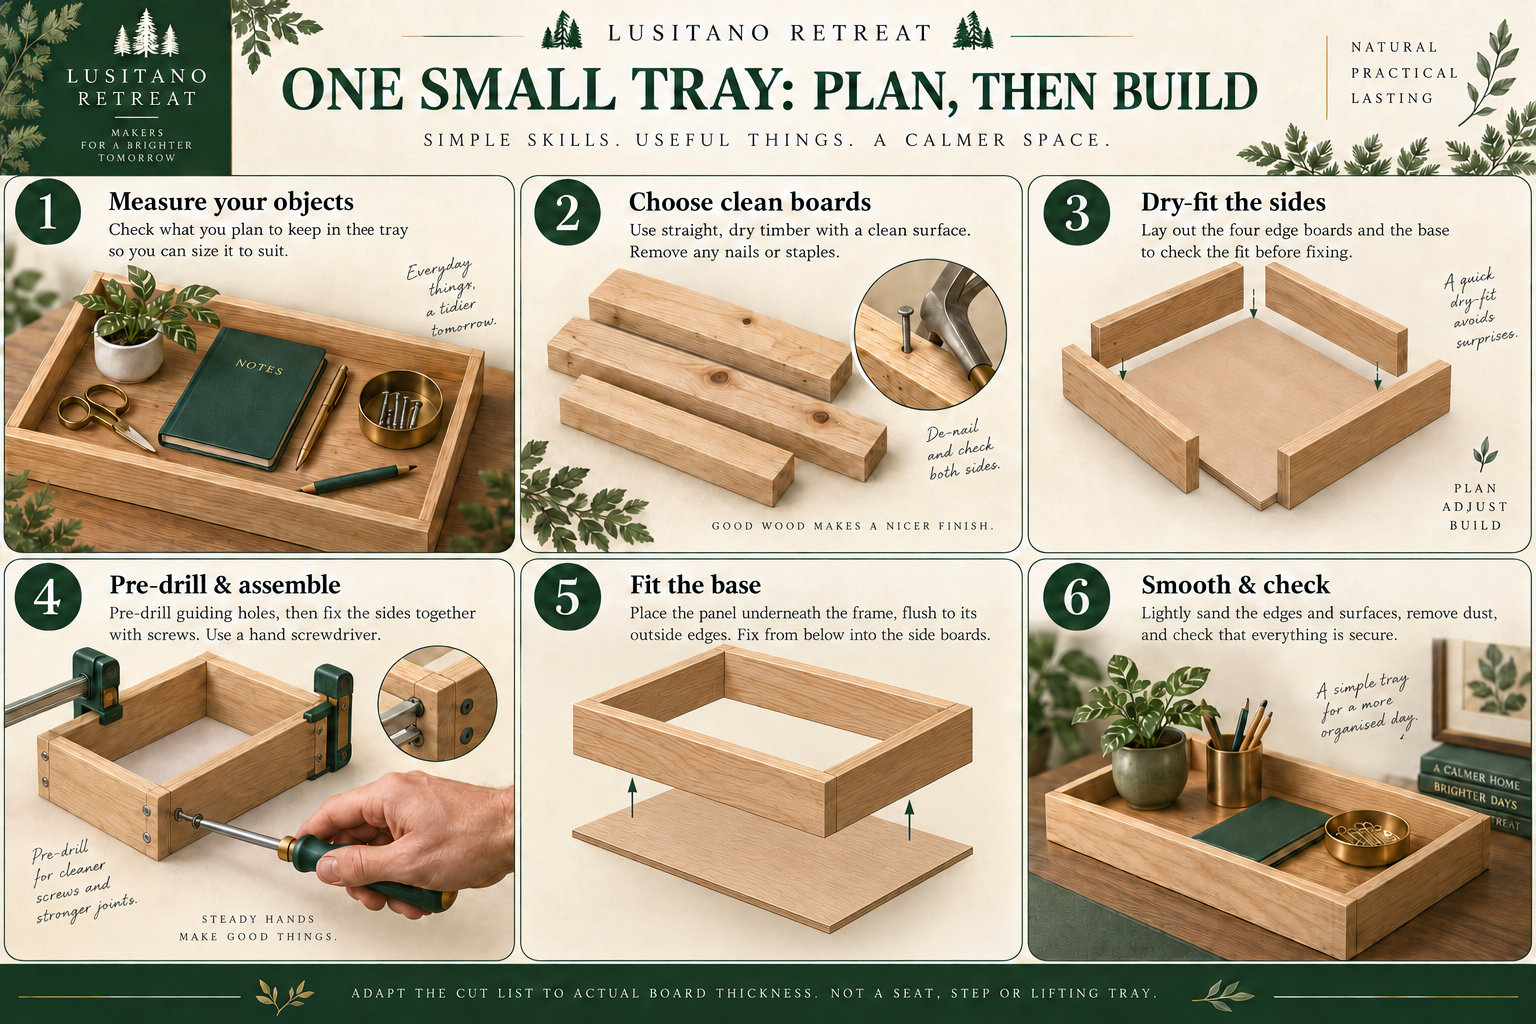
Measured starter build: a shallow desktop organiser
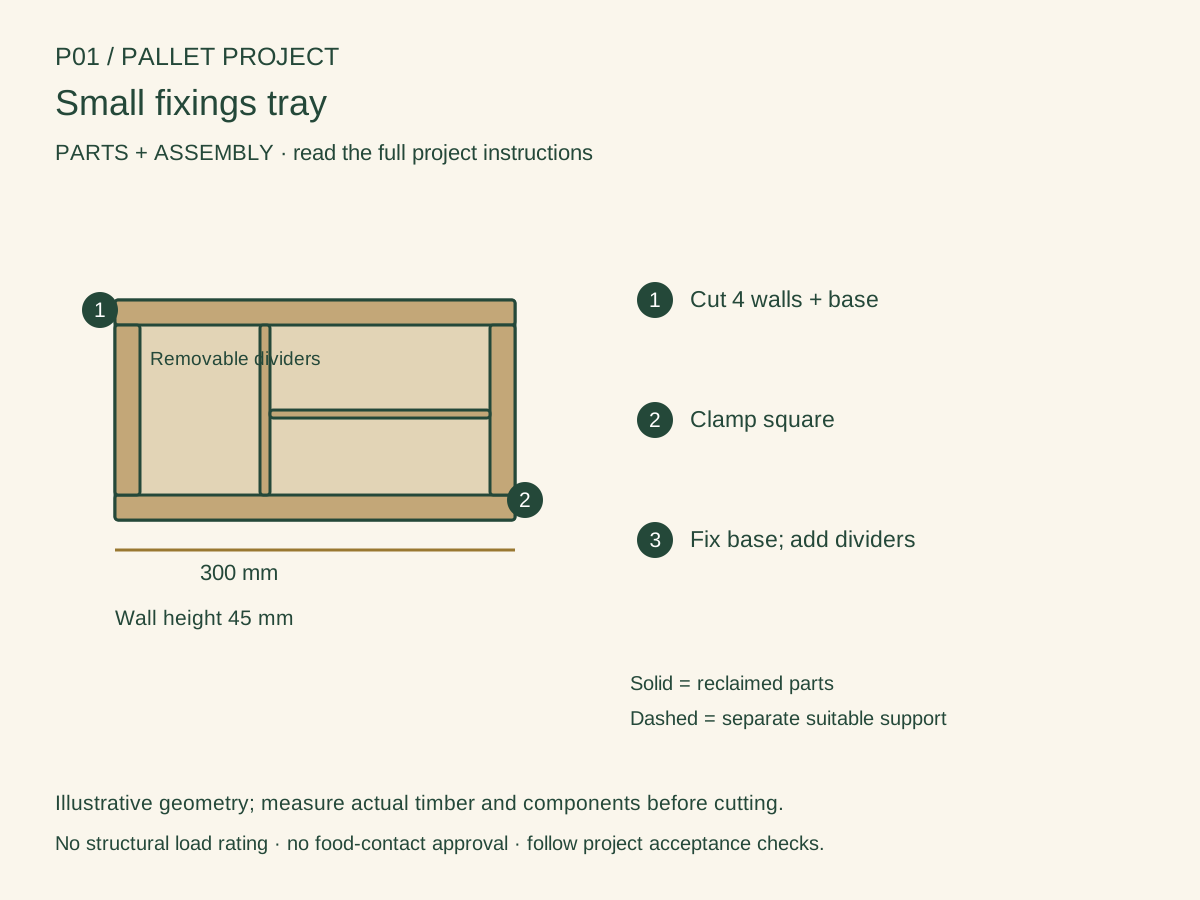
This is an illustrative small tray that stays on a desk and holds light stationery or fixings. It is not a seat, step, serving tray, lifting container or load-rated storage unit. The worked example uses an outside footprint of 300 × 200 mm, 45 mm side height, and measured side thickness t = 15 mm. Substitute the actual thickness before cutting; reject a thin or split board rather than forcing the example.
Cut list: two long sides 300 × 45 × t mm; two end pieces (200 − 2t) × 45 × t mm, therefore 170 × 45 × 15 mm in this example; one known suitable plywood base 300 × 200 × 6 mm. The end pieces fit BETWEEN the long sides. The base covers the whole footprint from below. Overall height with this base is 51 mm. A base panel is preferable to hoping gaps between pallet slats will contain small screws.
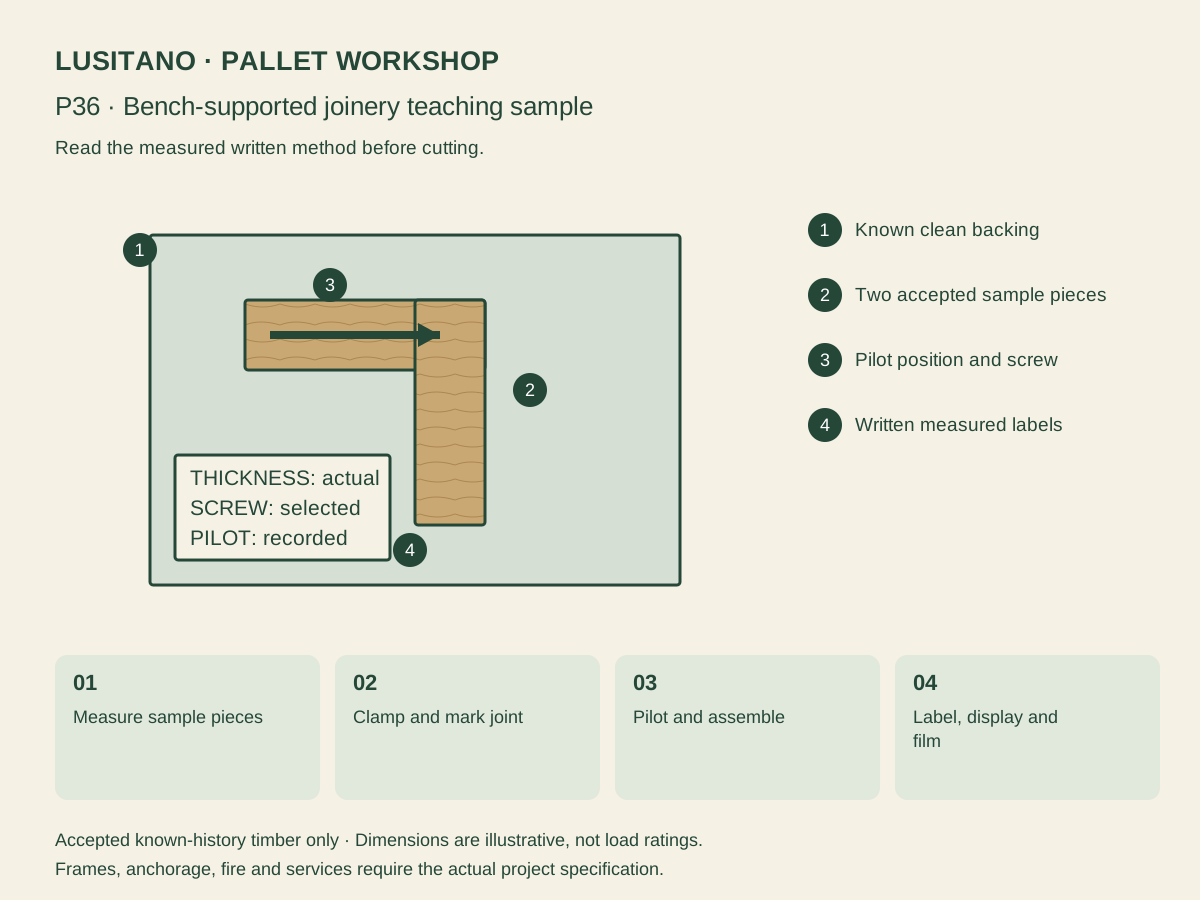
Dry-fit on a flat bench. Confirm that the end pieces sit between the long sides and the outside diagonals match. Mark pilot holes through the long sides into the ends; position them clear of edges and defects. Choose suitable wood screws for the actual timber and joint, following their manufacturer’s guidance. The screw length must not break through an exposed face. Clamp, pre-drill and assemble without overtightening.
Place the base underneath, flush to the outside. Mark holes into the side-board thickness, not into the open tray. Pilot and countersink only as appropriate for the selected screws and panel; use short suitable screws that engage the side boards without emerging inside or splitting the edge. Do not adopt a universal screw count or length from a concept image.
Smooth contact edges, vacuum dust, and leave bare for dry workshop use or apply a finish suitable for this indoor object according to its label. Allow full cure. On the desk, check for rocking, sharp tips, loose corners and base movement with the actual light contents. Correct any fault before use. Add felt pads if needed; label the tray and record the final dimensions.
| Part | Quantity | Example size |
|---|---|---|
| Long sides | 2 | 300 × 45 × 15 mm |
| Ends between long sides | 2 | 170 × 45 × 15 mm |
| Separate panel base | 1 | 300 × 200 × 6 mm |
| New suitable fixings | Select for actual joints | No assumed universal screw length |
| Actual final size | Measure after assembly | 300 × 200 × 51 mm in this example |
07 / The research
Build the connection, not just the appearance
Use a square, dry fit and clamp before drilling. Pallet boards are often narrow and split near old nail holes; trim defects and avoid fixing into damaged ends. Drill appropriate pilot holes, select fixings for the timber, thickness and exposure, and check that the points cannot reach hands or stored objects. A screw in a thin board’s edge is not automatically a sound structural connection.
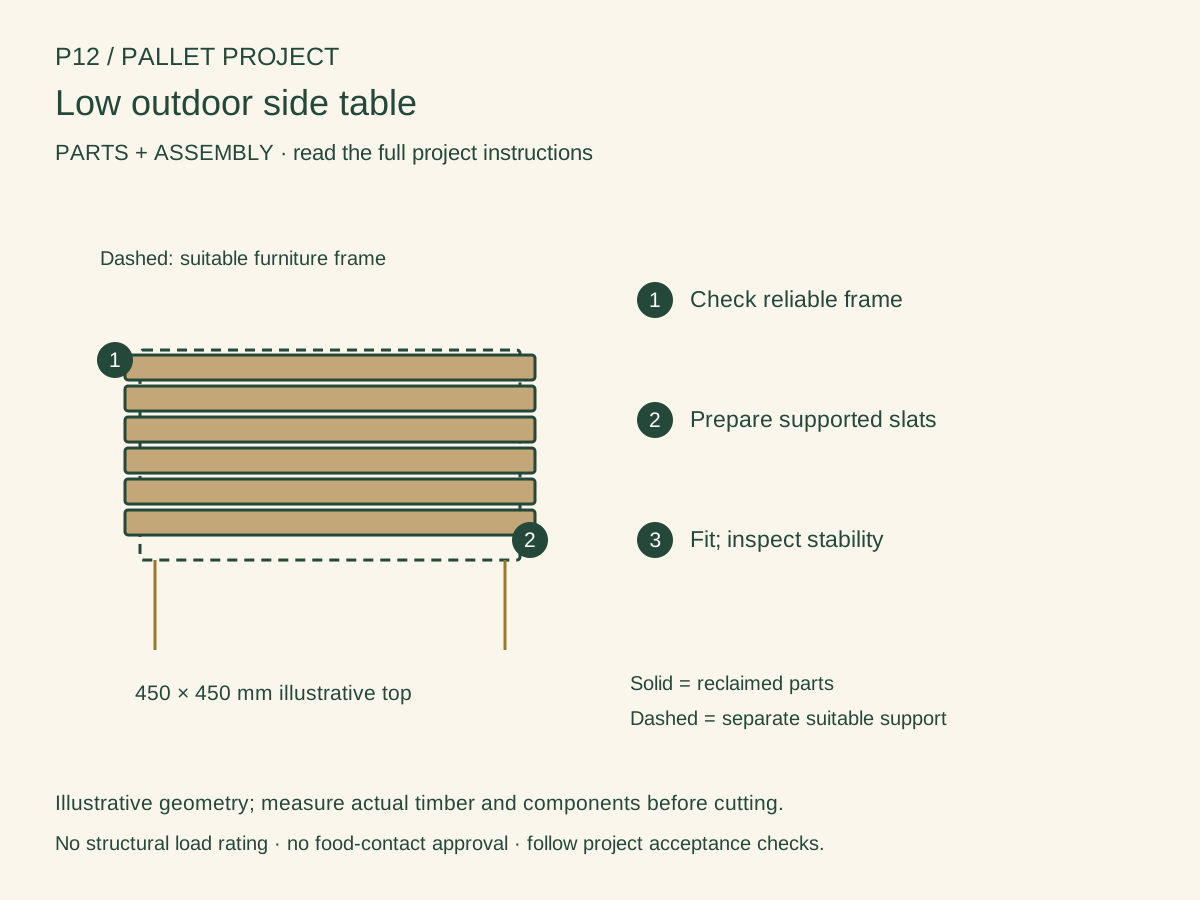
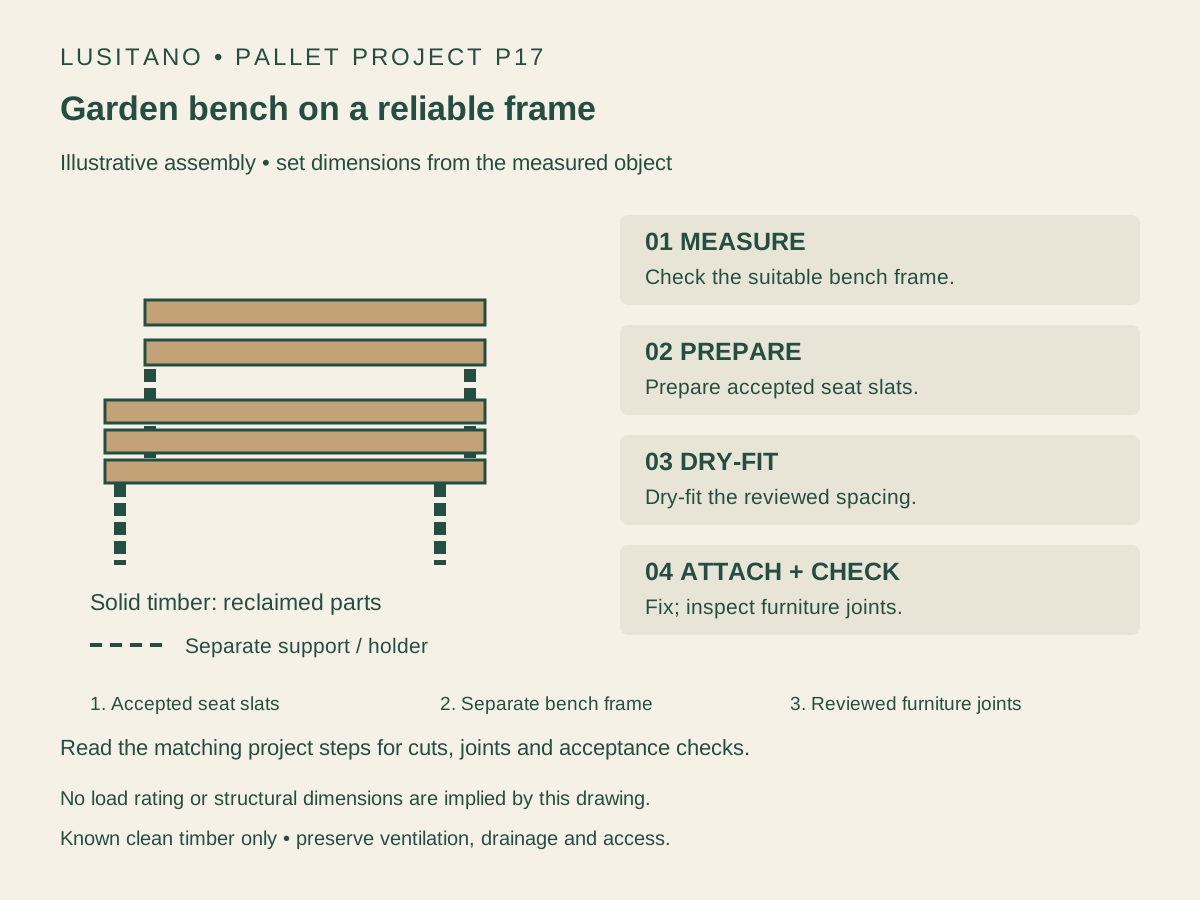
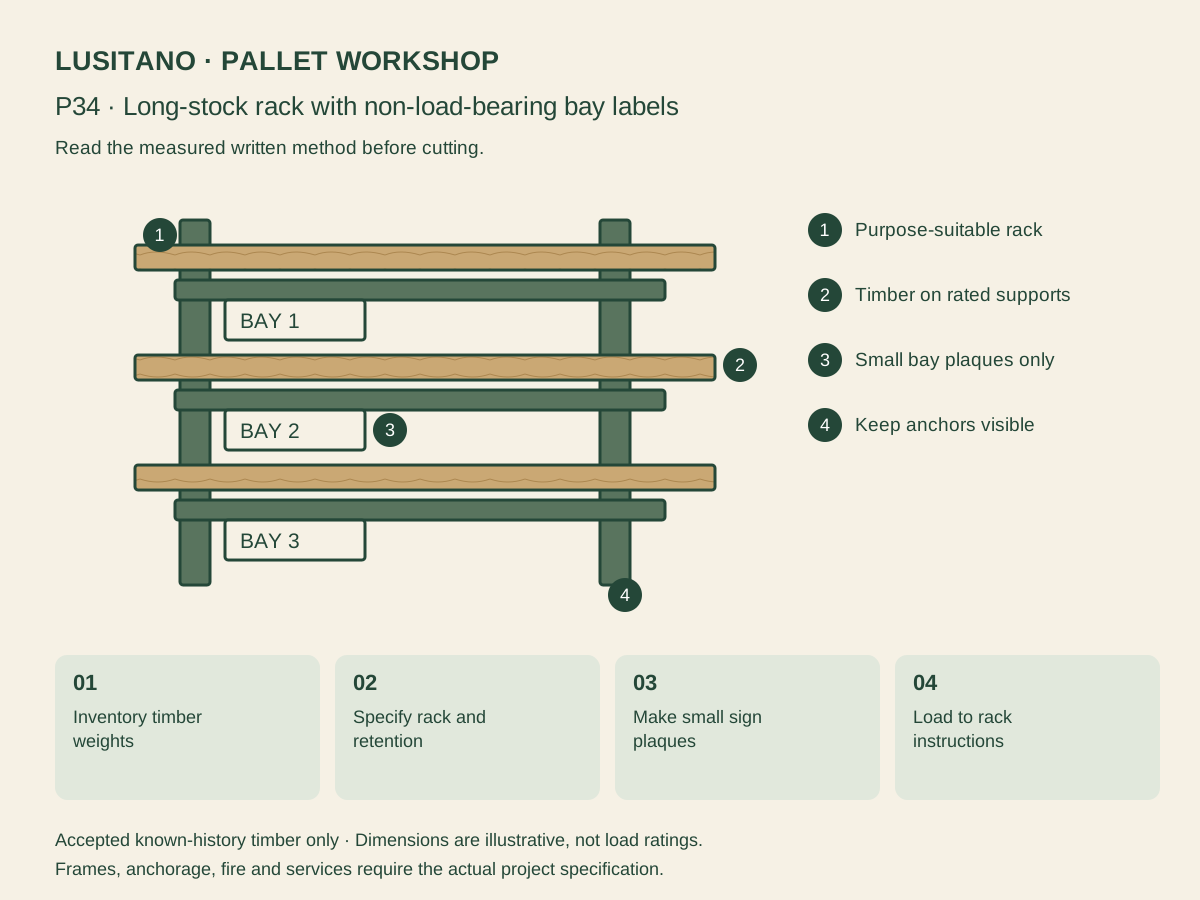
For furniture that supports people, design the frame and joints first. Do not infer a bench or daybed capacity from the transport rating of an intact pallet: dismantling, orientation, support and ageing change the system. HSE pallet guidance concerns pallets used as pallets and does not rate your new structure. [P6]
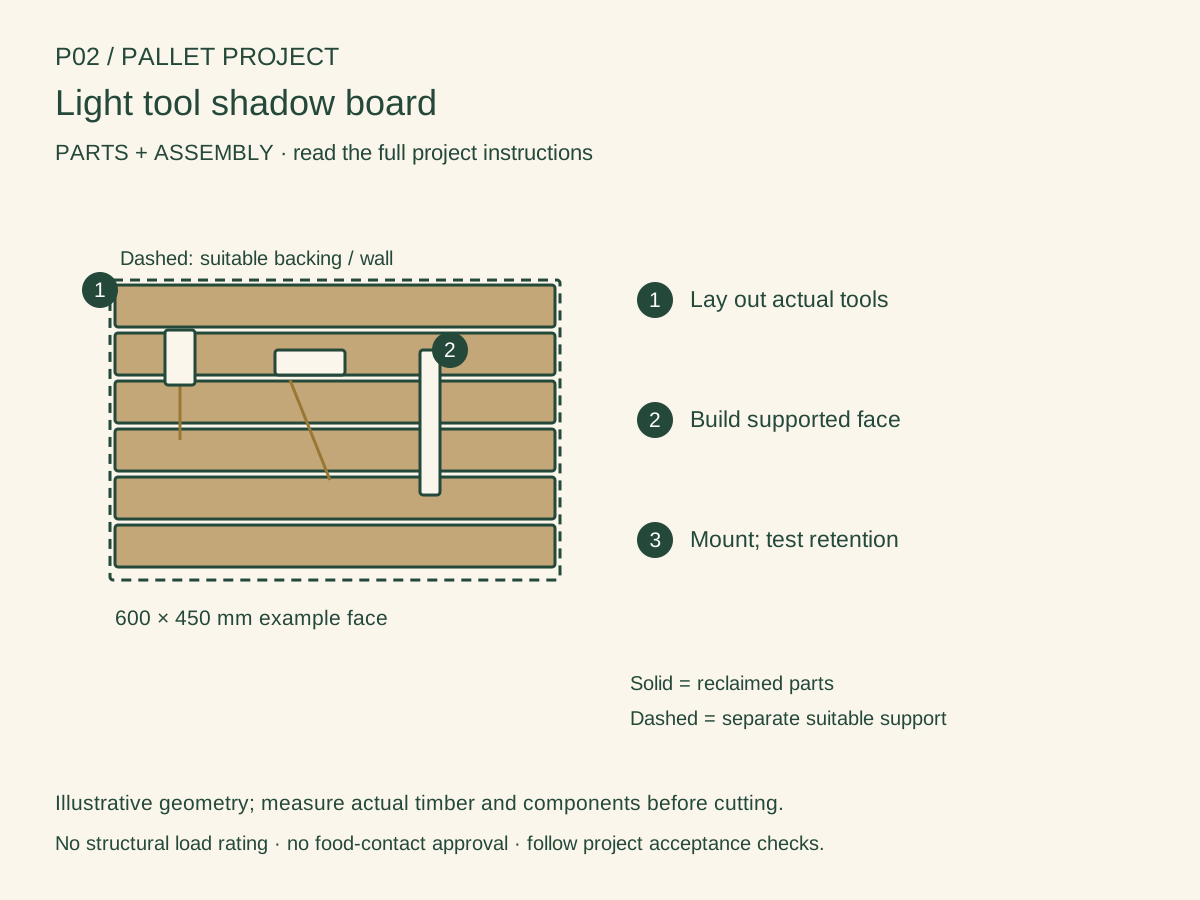
For wall storage, identify the actual substrate and suitable anchors. Fix heavy items to a designed backing or frame, not decorative slats or plasterboard alone. Keep heavy tools low and assess the combined load. For movable outdoor objects, consider wet contents, wind, tipping, soft ground and access before use.
08 / The research
Outdoor timber: drainage comes before stain
Keep end grain and boards out of standing water and soil where possible, allow drying, and arrange removable parts for inspection. Use a finish specified for the species and exposure; follow preparation, drying and recoating instructions. A coating does not turn unknown pallet wood into durable rated structural timber.
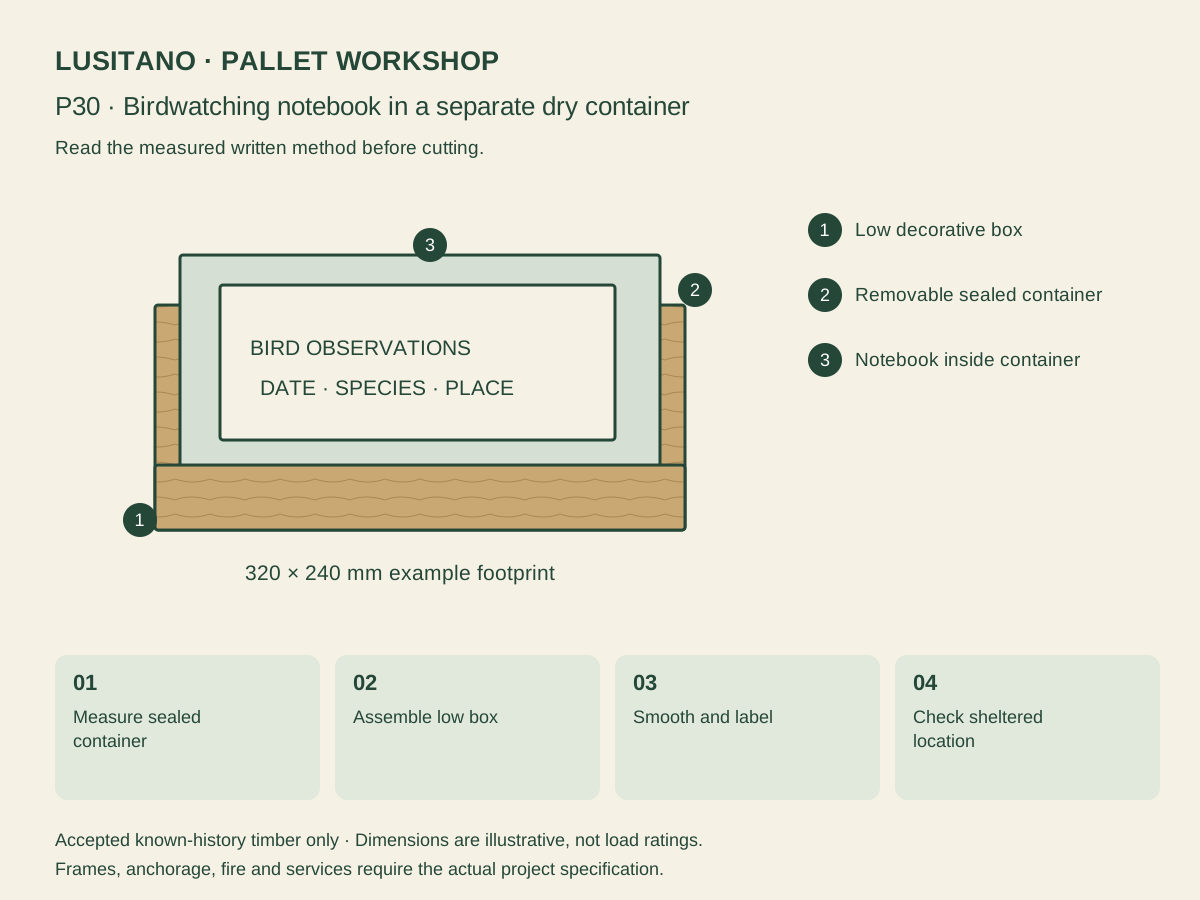
Use known suitable separate pots or containers where plants or edible growing media would otherwise contact unknown-history wood. Drainage and a liner must suit the actual container; a liner is not proof against all chemical transfer, and saturated compost can be much heavier than expected. Start with low manageable pots rather than a tall loaded pallet leaning against a wall.
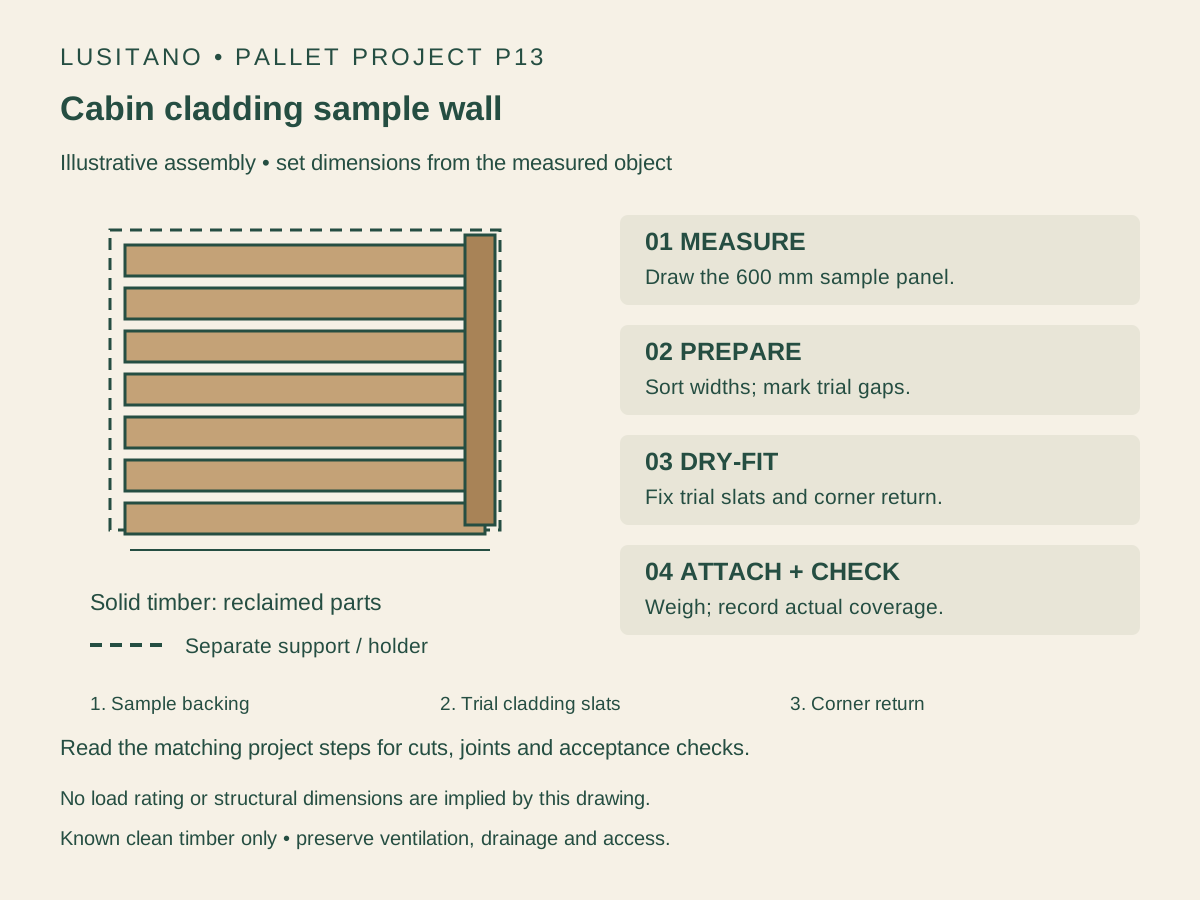
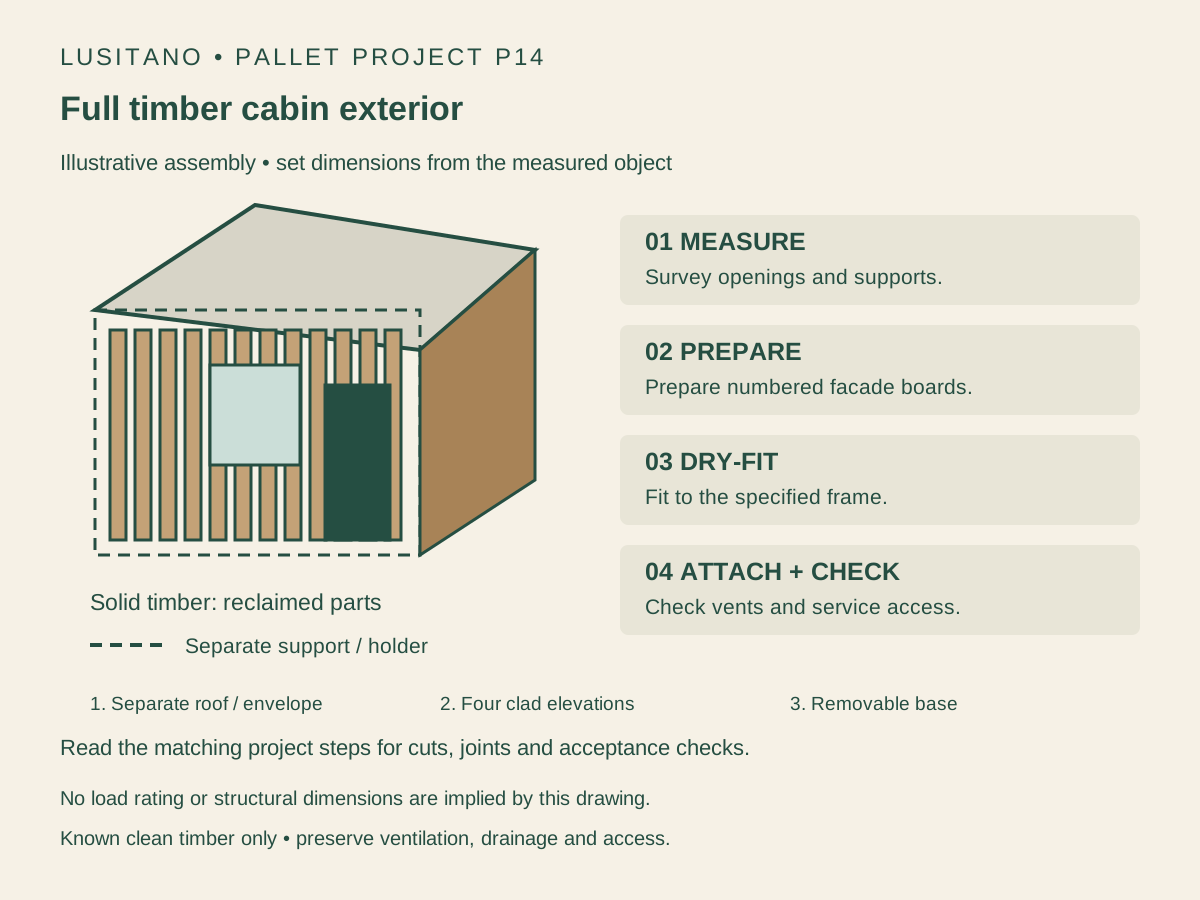
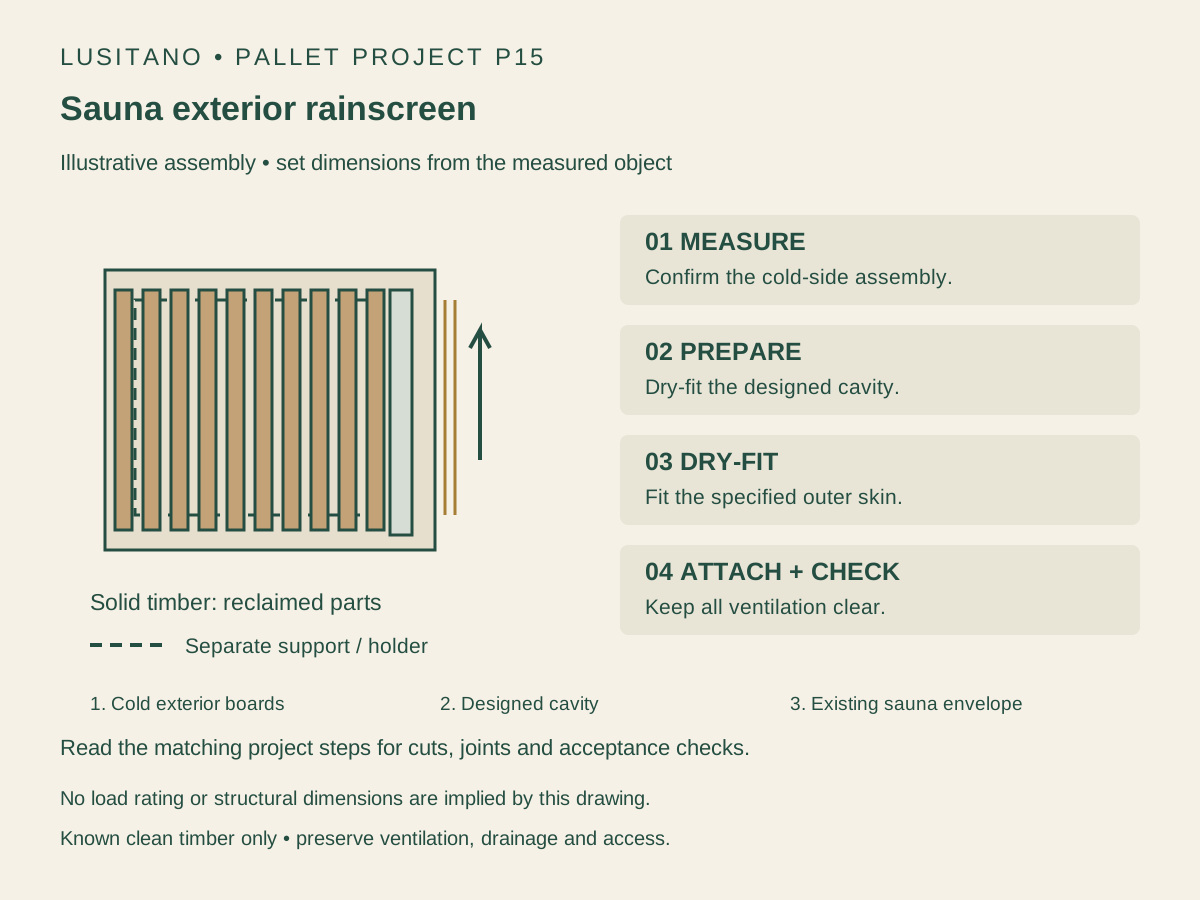
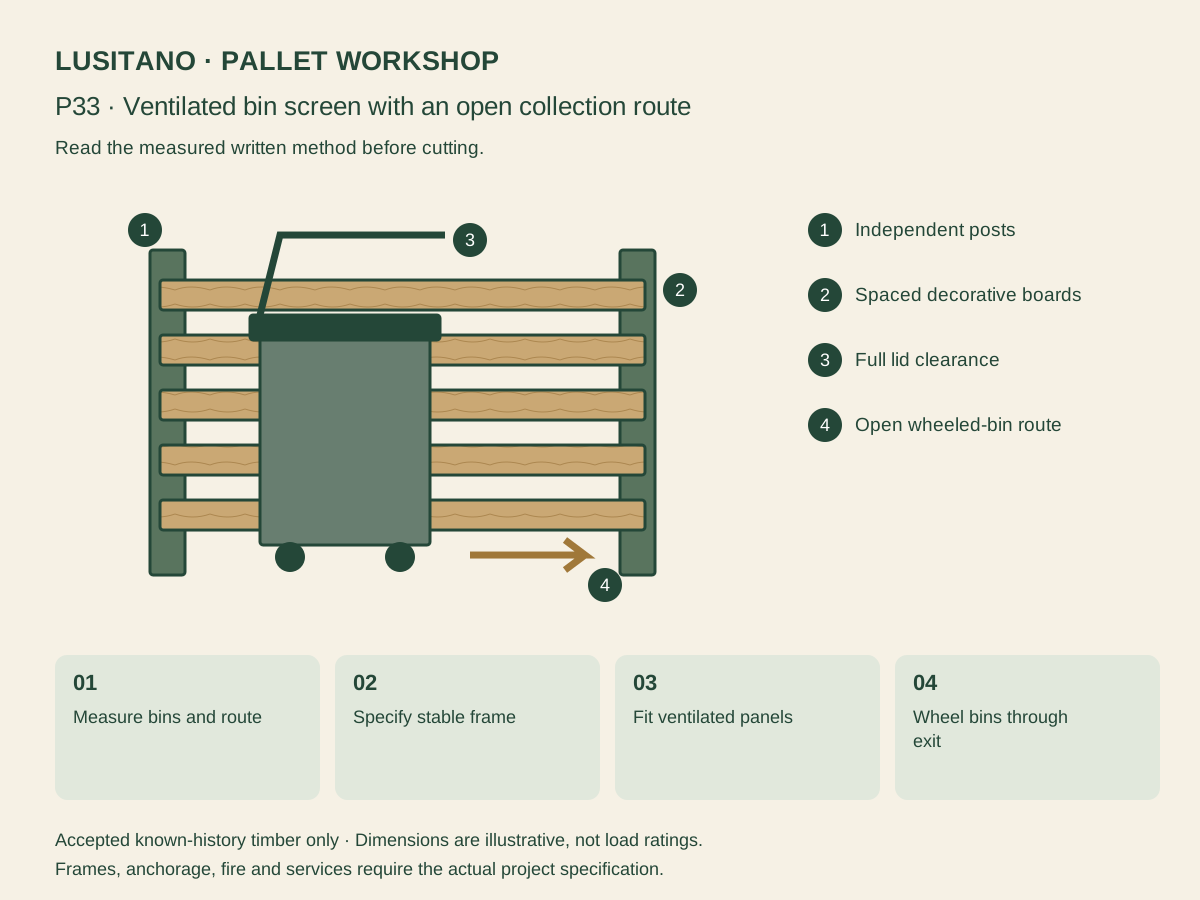
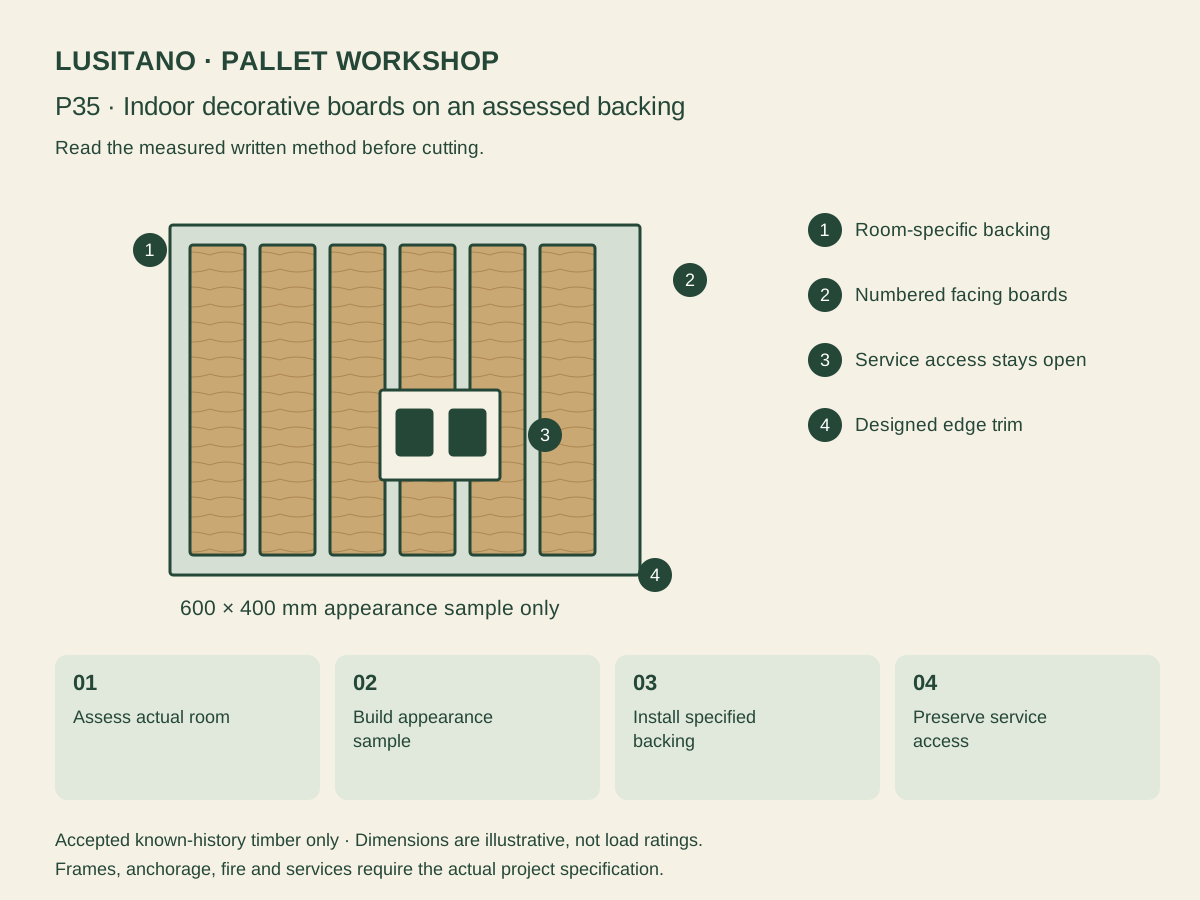
For cabin cladding, the support frame, membrane, cavity, water detailing, durability, fire performance, fixings and openings form an assembly. Decide those with the actual donor and site. Keep ventilation, emergency access and service points clear. Reclaimed boards are a finish option; they do not approve a complete enclosure or provide a legal exemption.
09 / The research
Count usable boards, not free pallets
Measure each accepted board and remove the unusable lengths from the tally. For a simple face area, sum usable length × usable face width in metres. For a specified overlapping or spaced cladding pattern, use its actual cover width rather than raw board width. Then compare the measured usable coverage with the design; a nominal pallet count is too unreliable for ordering.
Example of arithmetic only: eight usable boards each 0.8 m long and 0.09 m cover width provide 0.576 m² before cutting loss and pattern constraints. Do not treat that as the yield of every pallet. Keep a separate measured allowance for rejected boards, cuts and trial pieces rather than inventing a universal waste percentage.
Record collection permission, transport, dismantling time, extraction/abrasives, new fixings, suitable frame and finish, specialist input and maintenance. Use the existing project cost calculator for actual figures. Free source wood can still be the expensive route if most pieces are unsuitable. Offcuts with unknown history do not become sauna fuel: business waste burning has separate restrictions. [P7]
10 / The research
Choose your next project from the workshop library
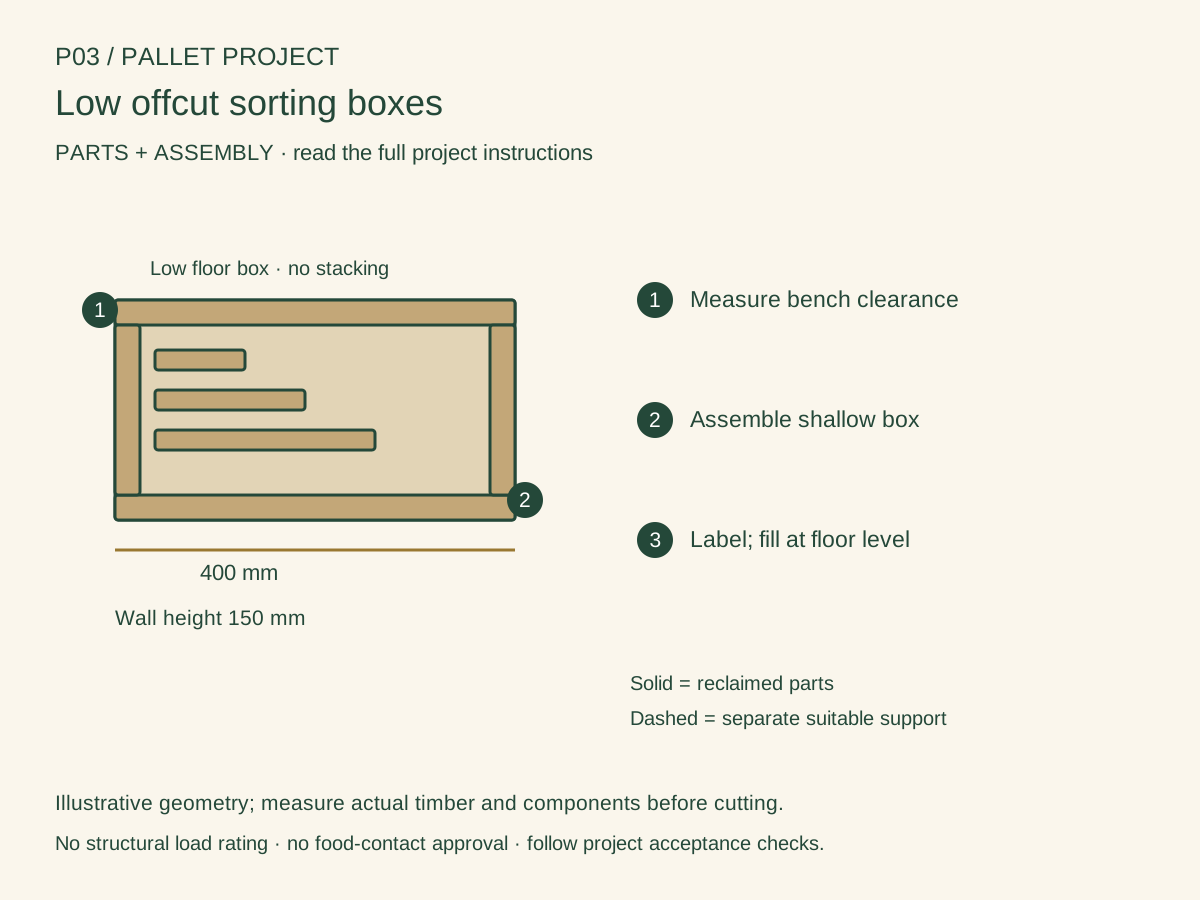
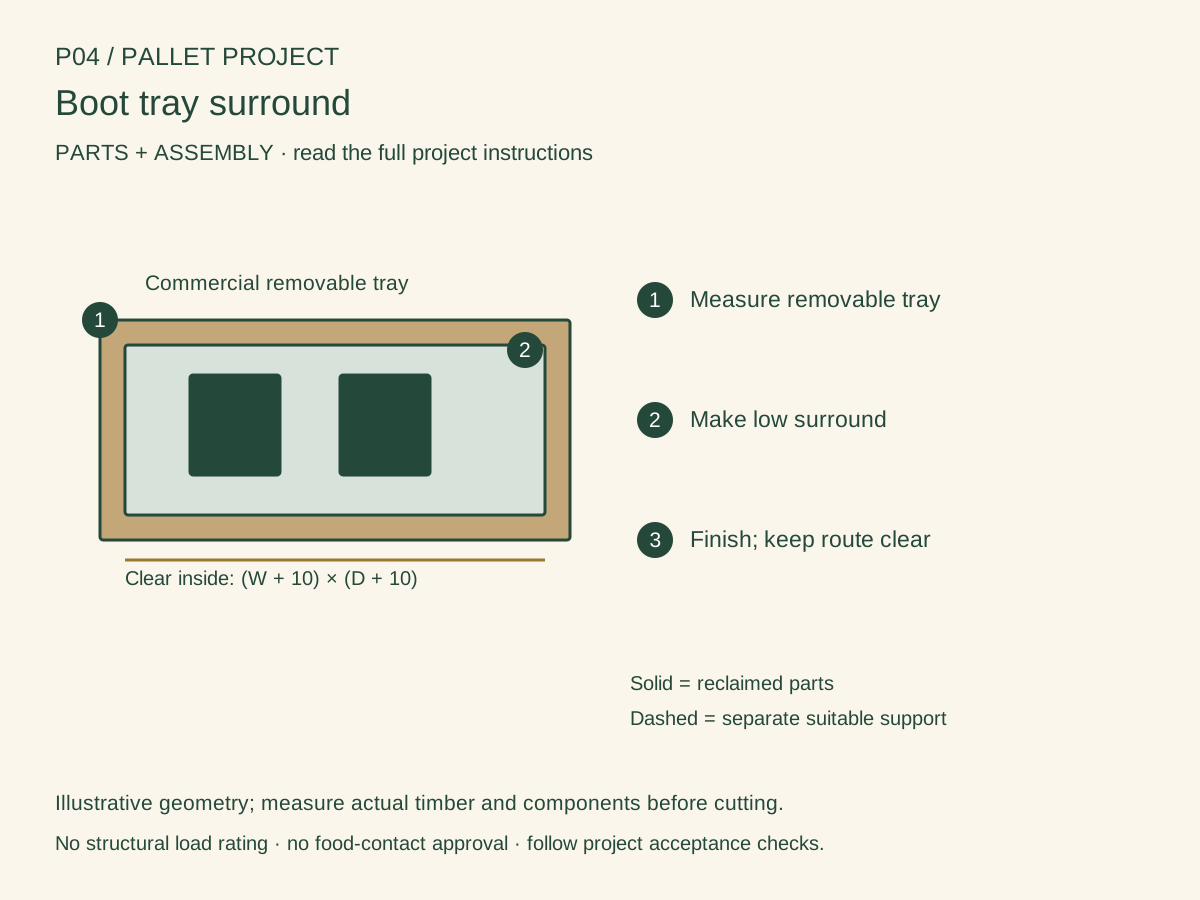
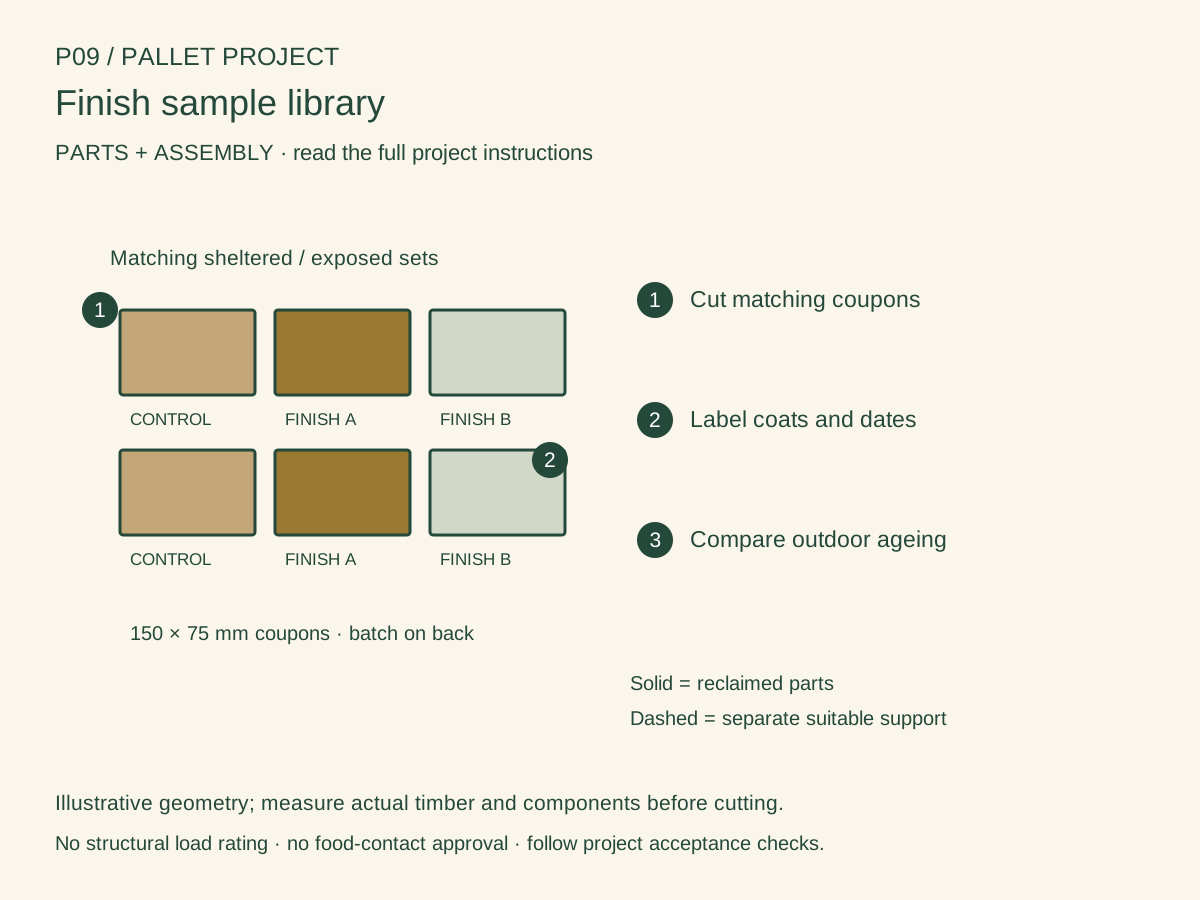
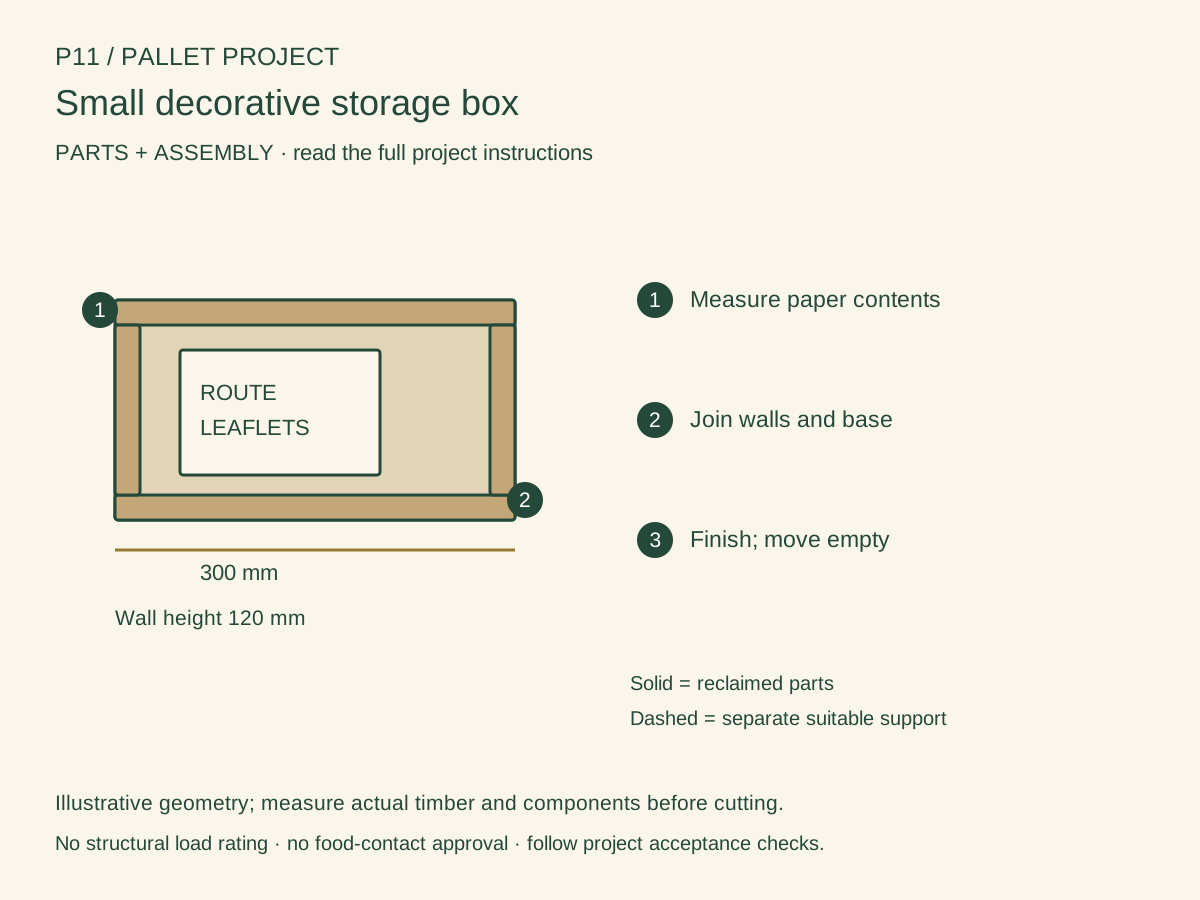
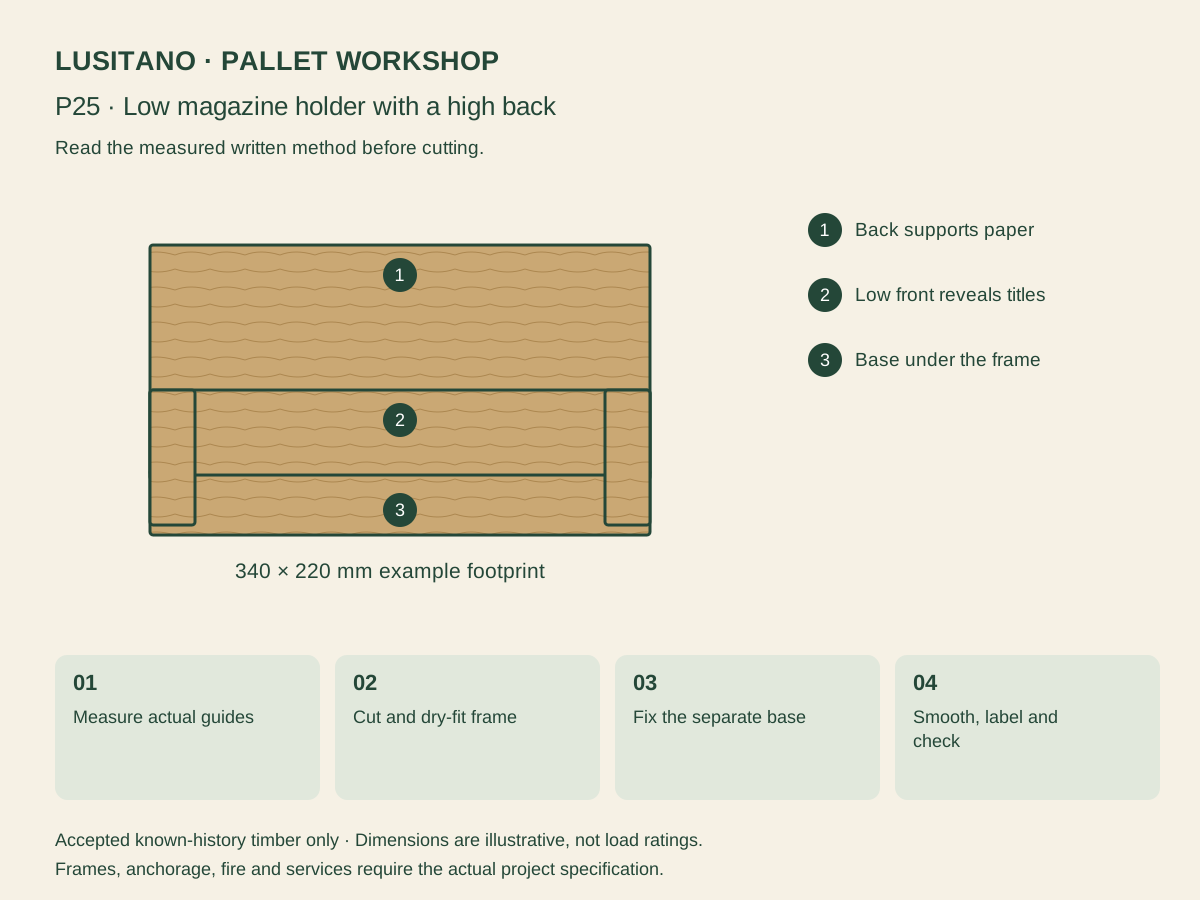
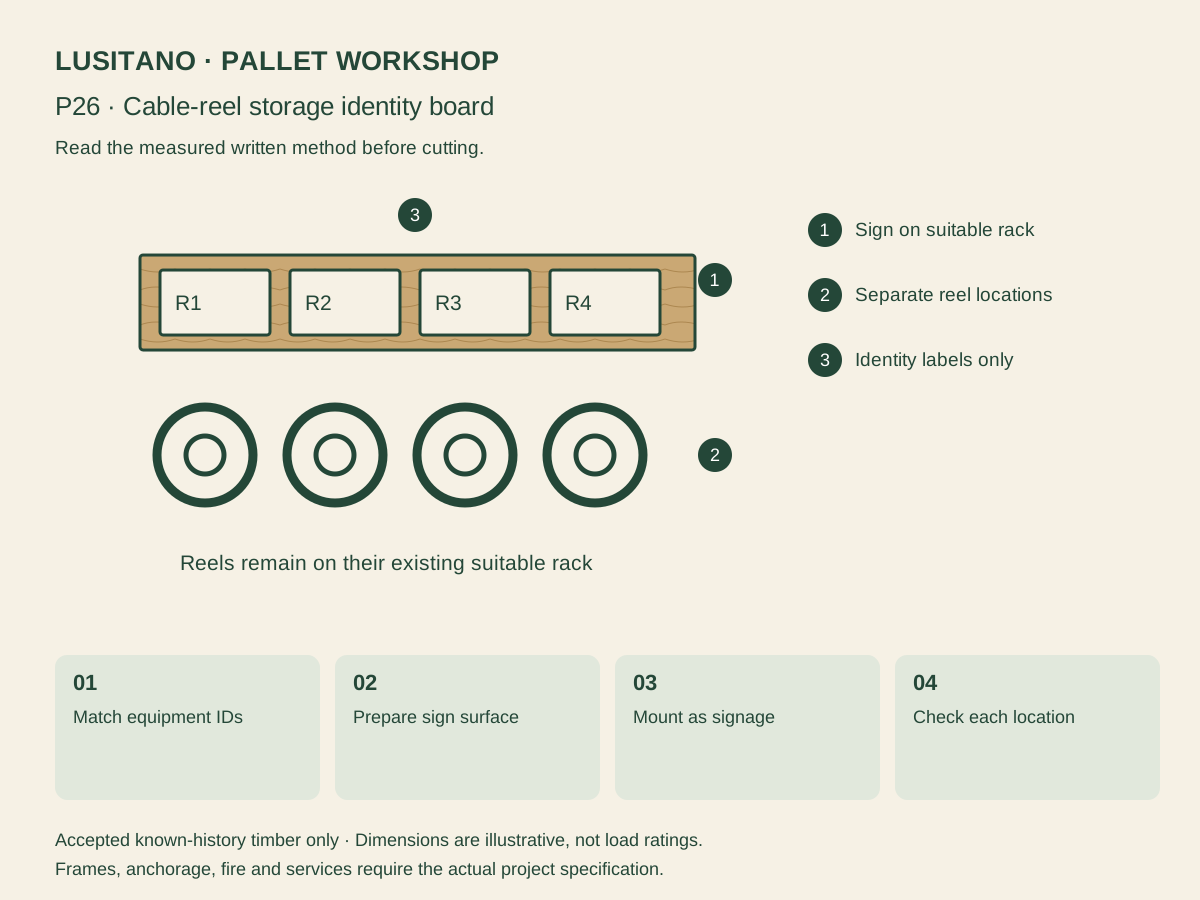
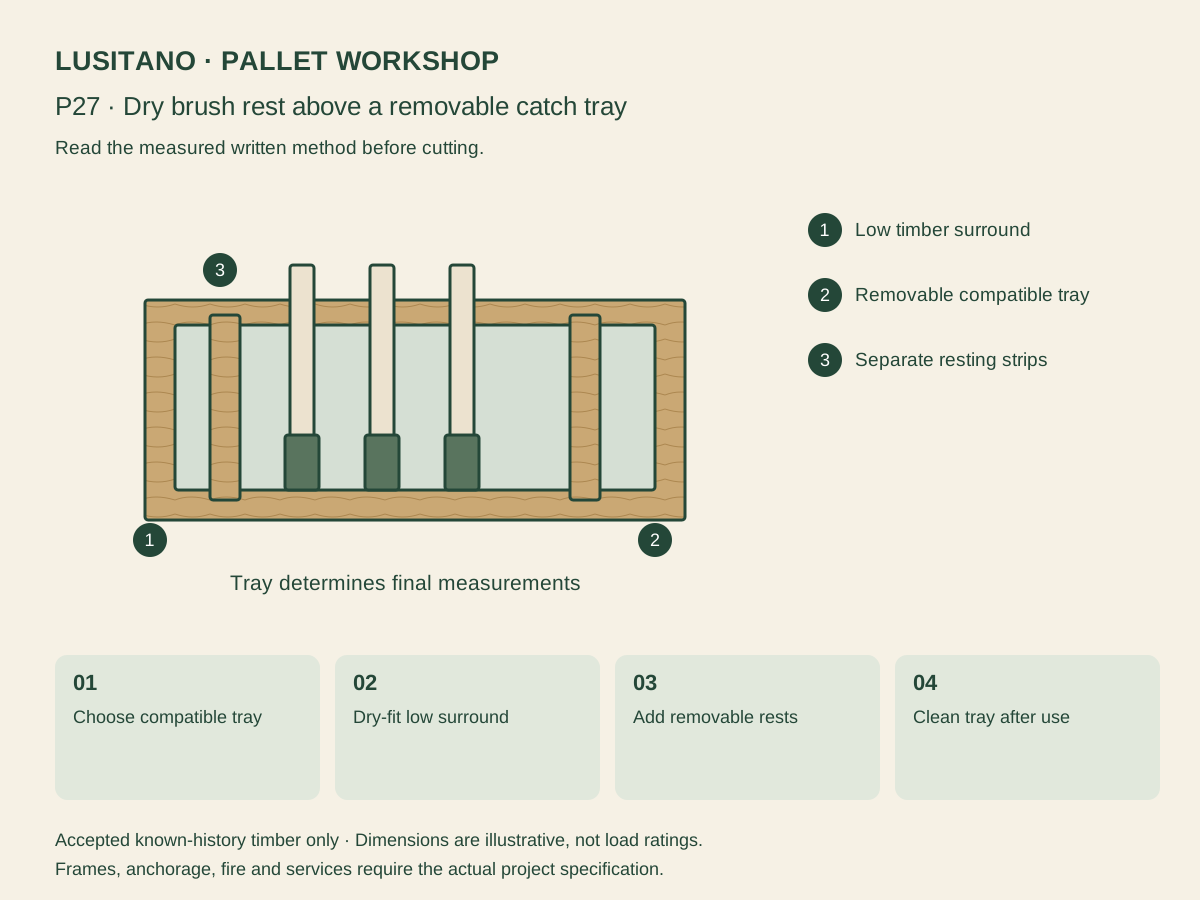
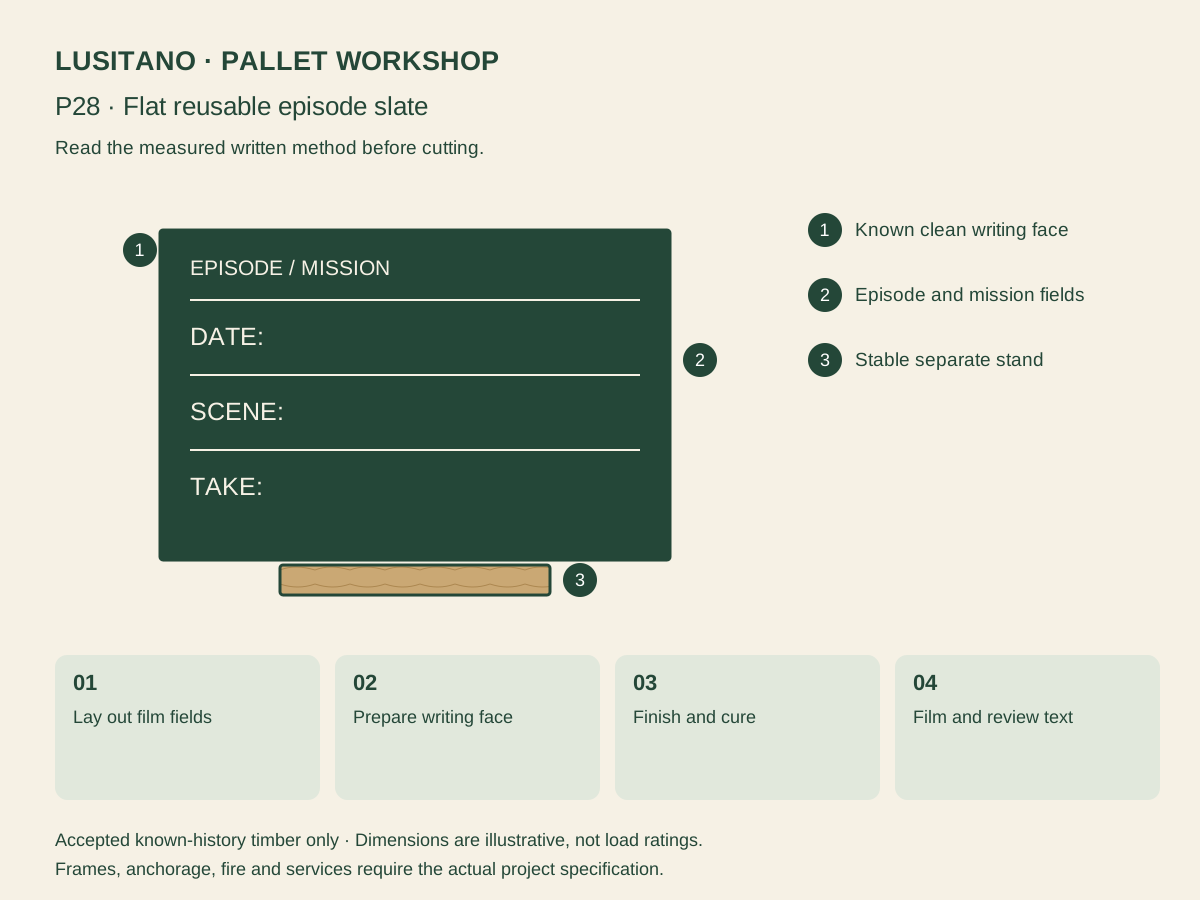
The 36 cards below give the intended object, reclaimed and new parts, an ordered method and a completion check. Starter cards are modest objects; intermediate cards require confident woodworking and appropriate fixing choices; design-review cards are briefs to develop with a competent designer before building. These labels describe the work needed, not a certification or permission.
Do one small project from the actual recovered stock, then revise the next cut list from what worked. Do not make a large batch of identical pieces until the first one has been inspected in its real setting.
11 / The research
Keep it working and make it a useful episode
At handover, record the final object, source boards, new components, intended use and observed defects. Check new joints after initial use and inspect again after wet weather or storage; remove the object from service if a fixing loosens, a split grows, mould appears or a surface becomes slippery. A check frequency must reflect use and exposure rather than a universal annual promise.
For the documentary, film the original pallet and permission record without personal details, show the rejected material, the measured cut list, dry fit, connection detail and final functional check. Capture the amount of wood retained and new parts added. A failed board or changed design is part of the story. The proposed 21 chapters remain a narrative framework, not a deadline to construct public facilities.